Valentine Bottles
I made this sweet Valentine’s gift last year for a friend who really likes M&Ms. I have seen a few versions of this type around Pinterest, but I thought I’d share my take on it so you can make your own for this Valentine’s Day. It’s coming up soon!
Materials:
- Four or Six pack of bottles – just make sure the mouth is wide enough for what you want to put inside the bottles.
- Decorative craft paper – any style that your recipient will like. I used four different patterns, but you can use as many or as few as you would like. *Note: I used a cardstock thickness. If I were to do this again, I would use a thinner paper so that it’s easier to adhere to the bottles.
- Adhesive – I used a clear, double-sided adhesive. I didn’t worry too much about it because once the bottles were filled, you couldn’t see anything anyway.
- Something to fill the bottles – candy, snacks, notes, sky’s the limit – well actually you are limited by the width of the mouth of the bottle…
- Miscellaneous supplies: scoring mat and bone folder, die cut machine and dies, rubber stamps and ink, punches, any other decorative items you may like.
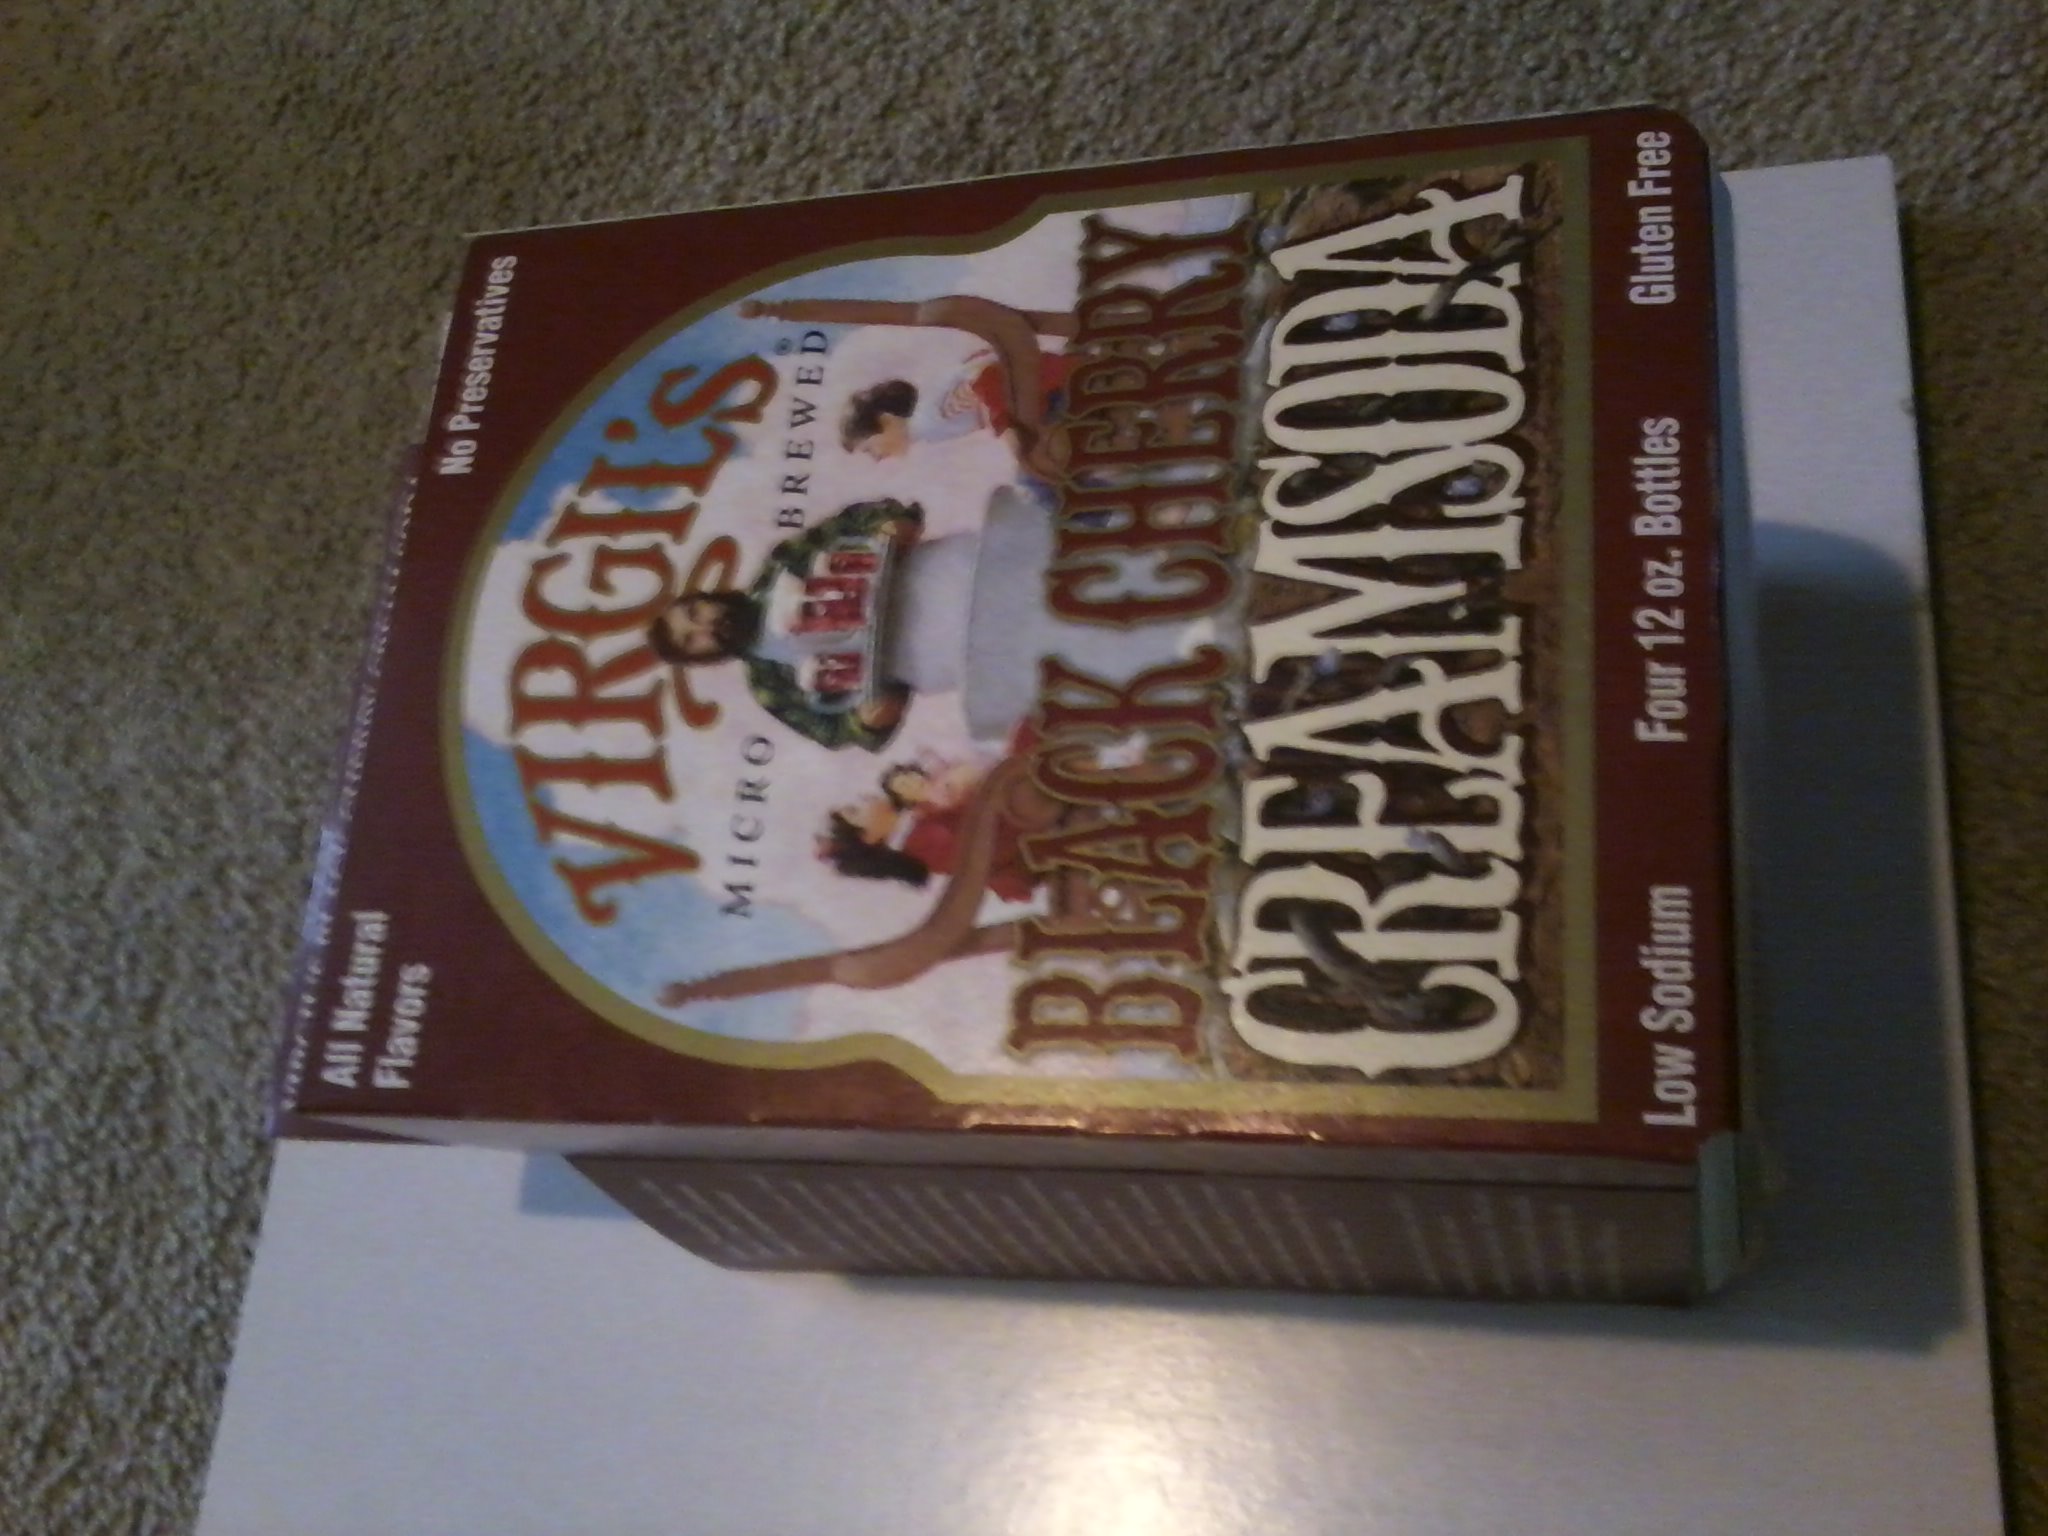
For this project you do need to go shopping a little bit early so you can get the bottles you need and drink the contents – that’s the yummy part for you! Once the bottles are empty, you will need to wash and dry them thoroughly. You will also need to remove the labels. If there is a label around the neck, try to get one of them to come off in one piece and save it to make a template. Don’t forget to save the cardboard container they came in, you’ll need it to hold all the bottles when you’re done.
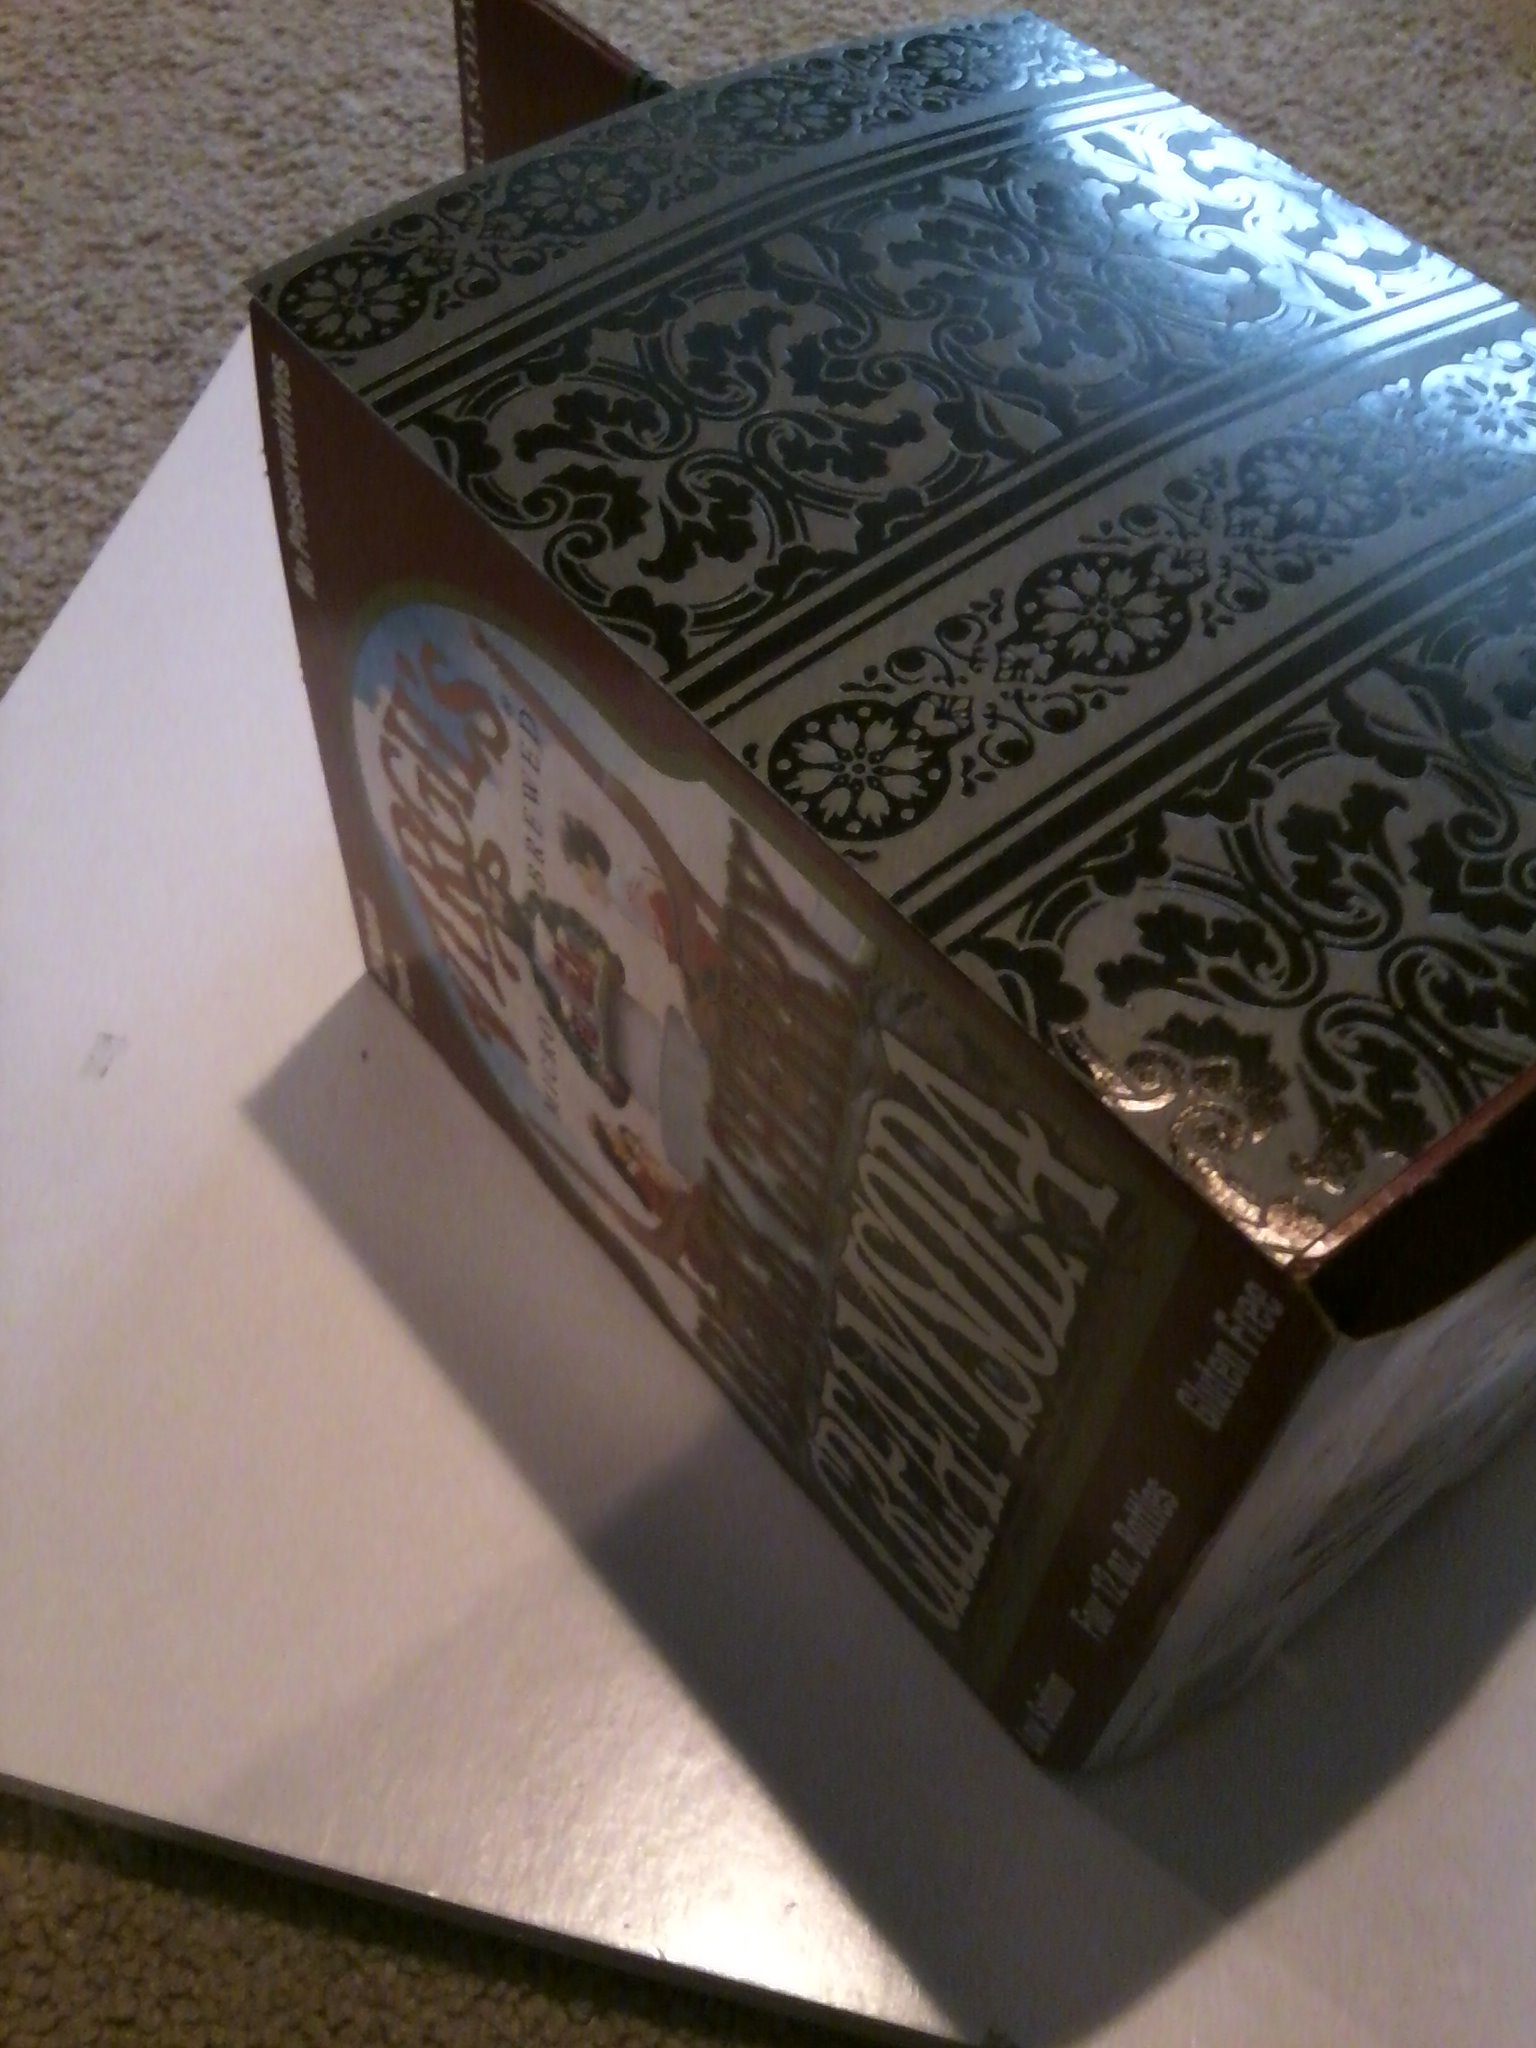
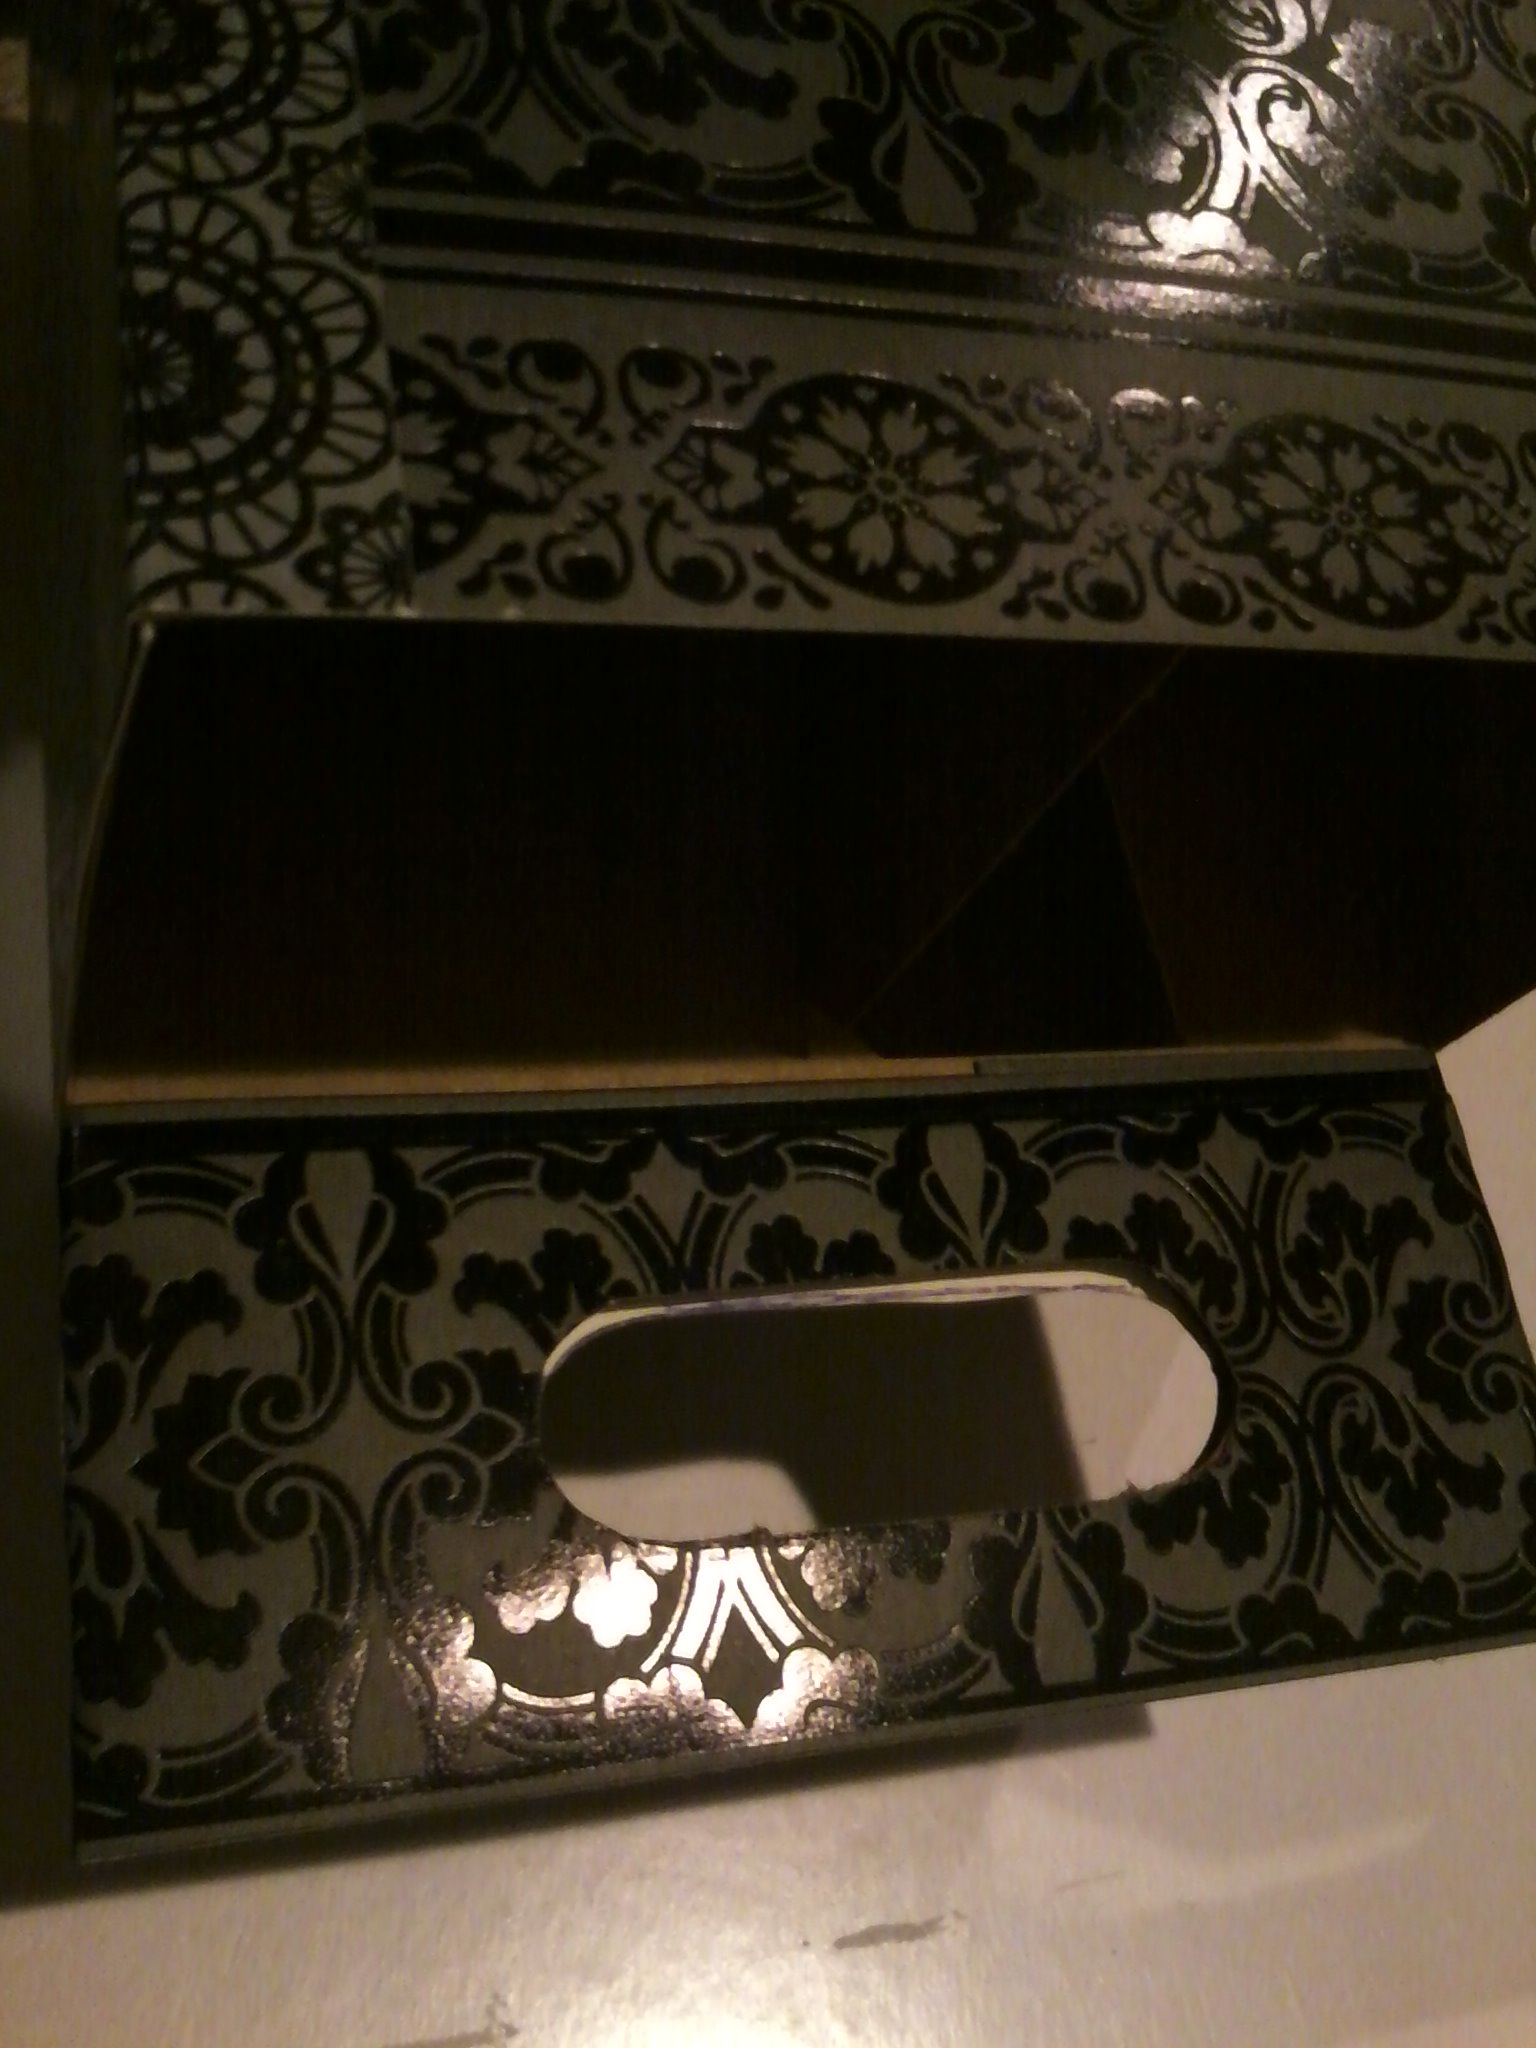
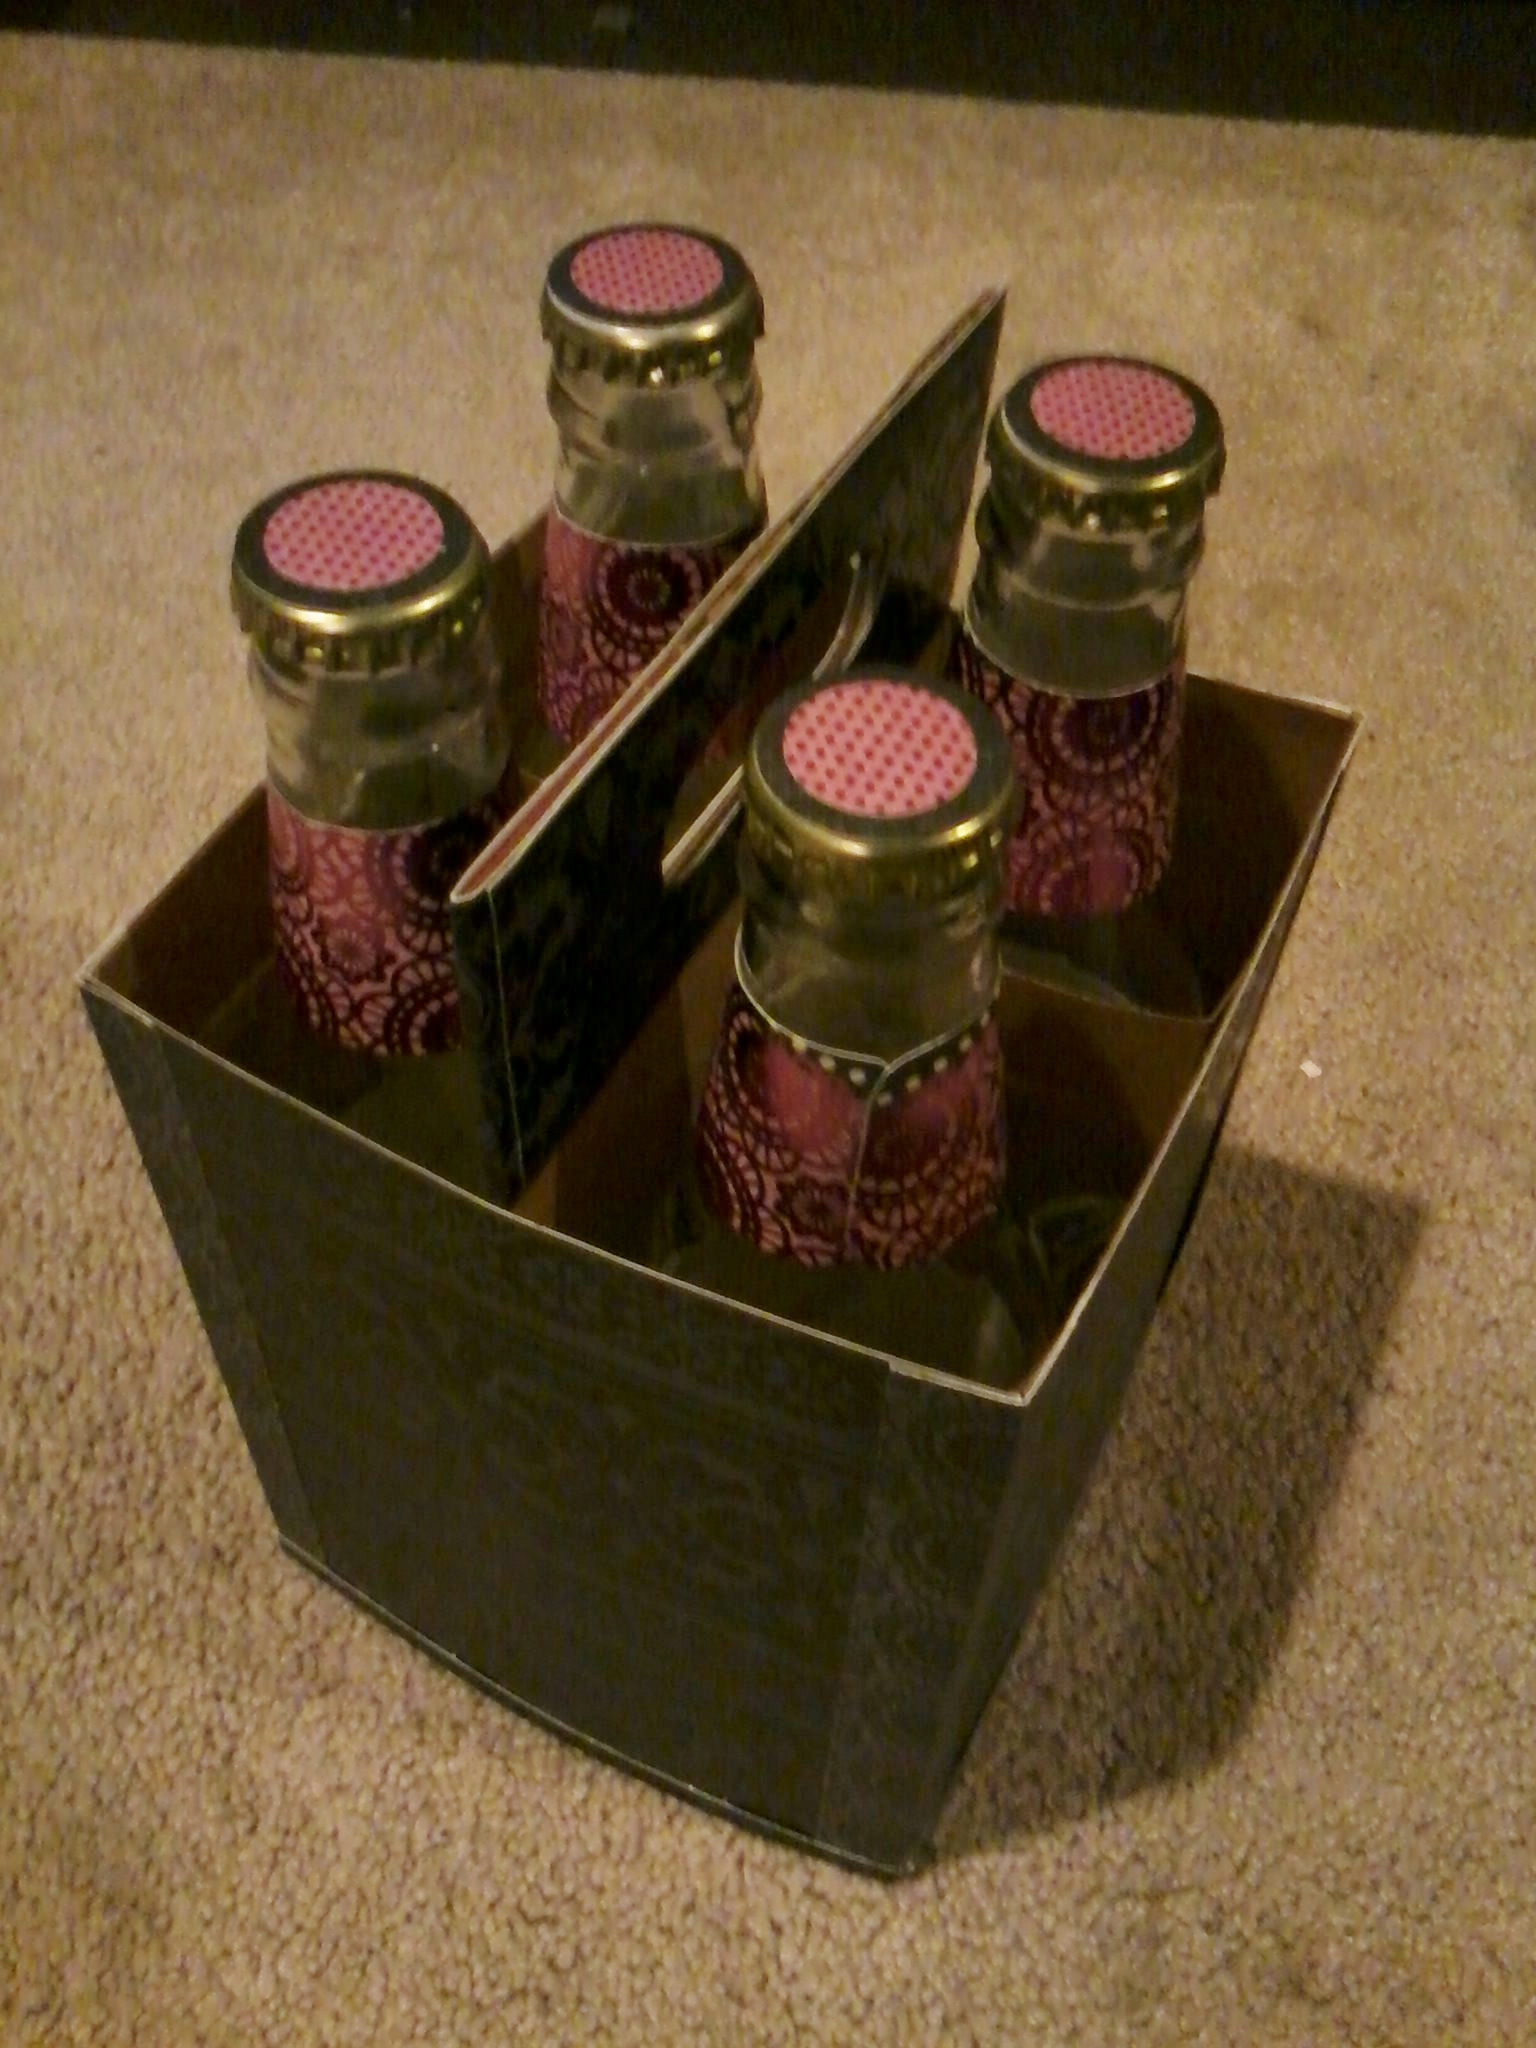
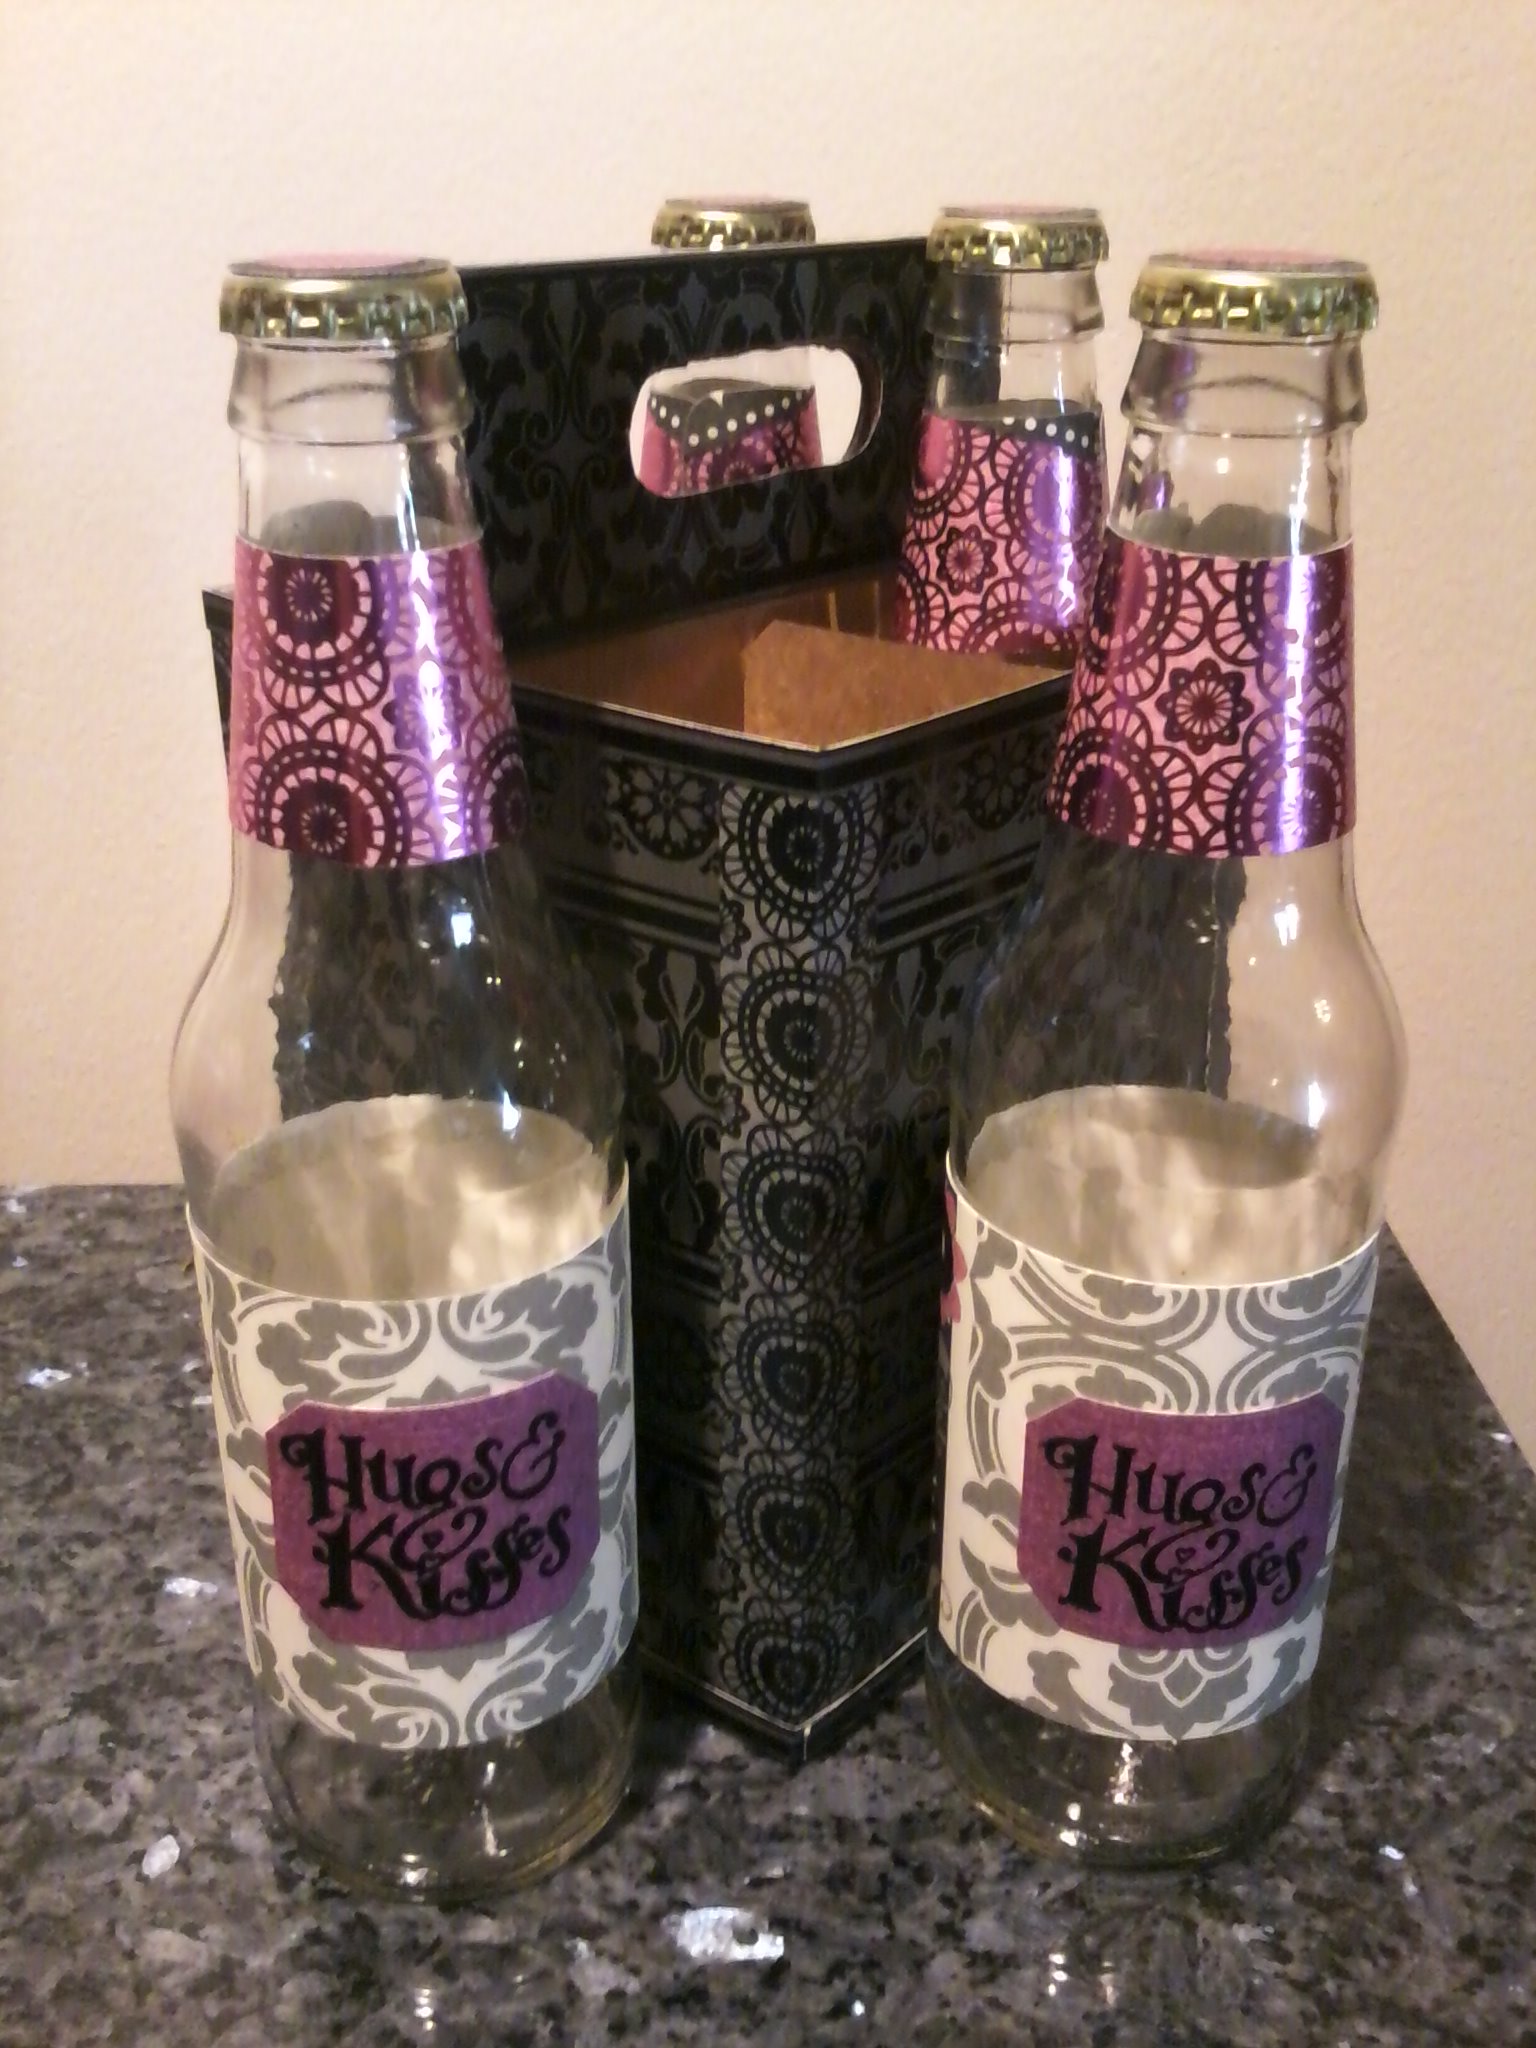
The first step is to cover the cardboard holder. I placed mine sideways on the paper I selected and used it to measure the sides. I chose to cut four panels and adhere them, but you could just cut one long piece and wrap it in place, adhering as you go.
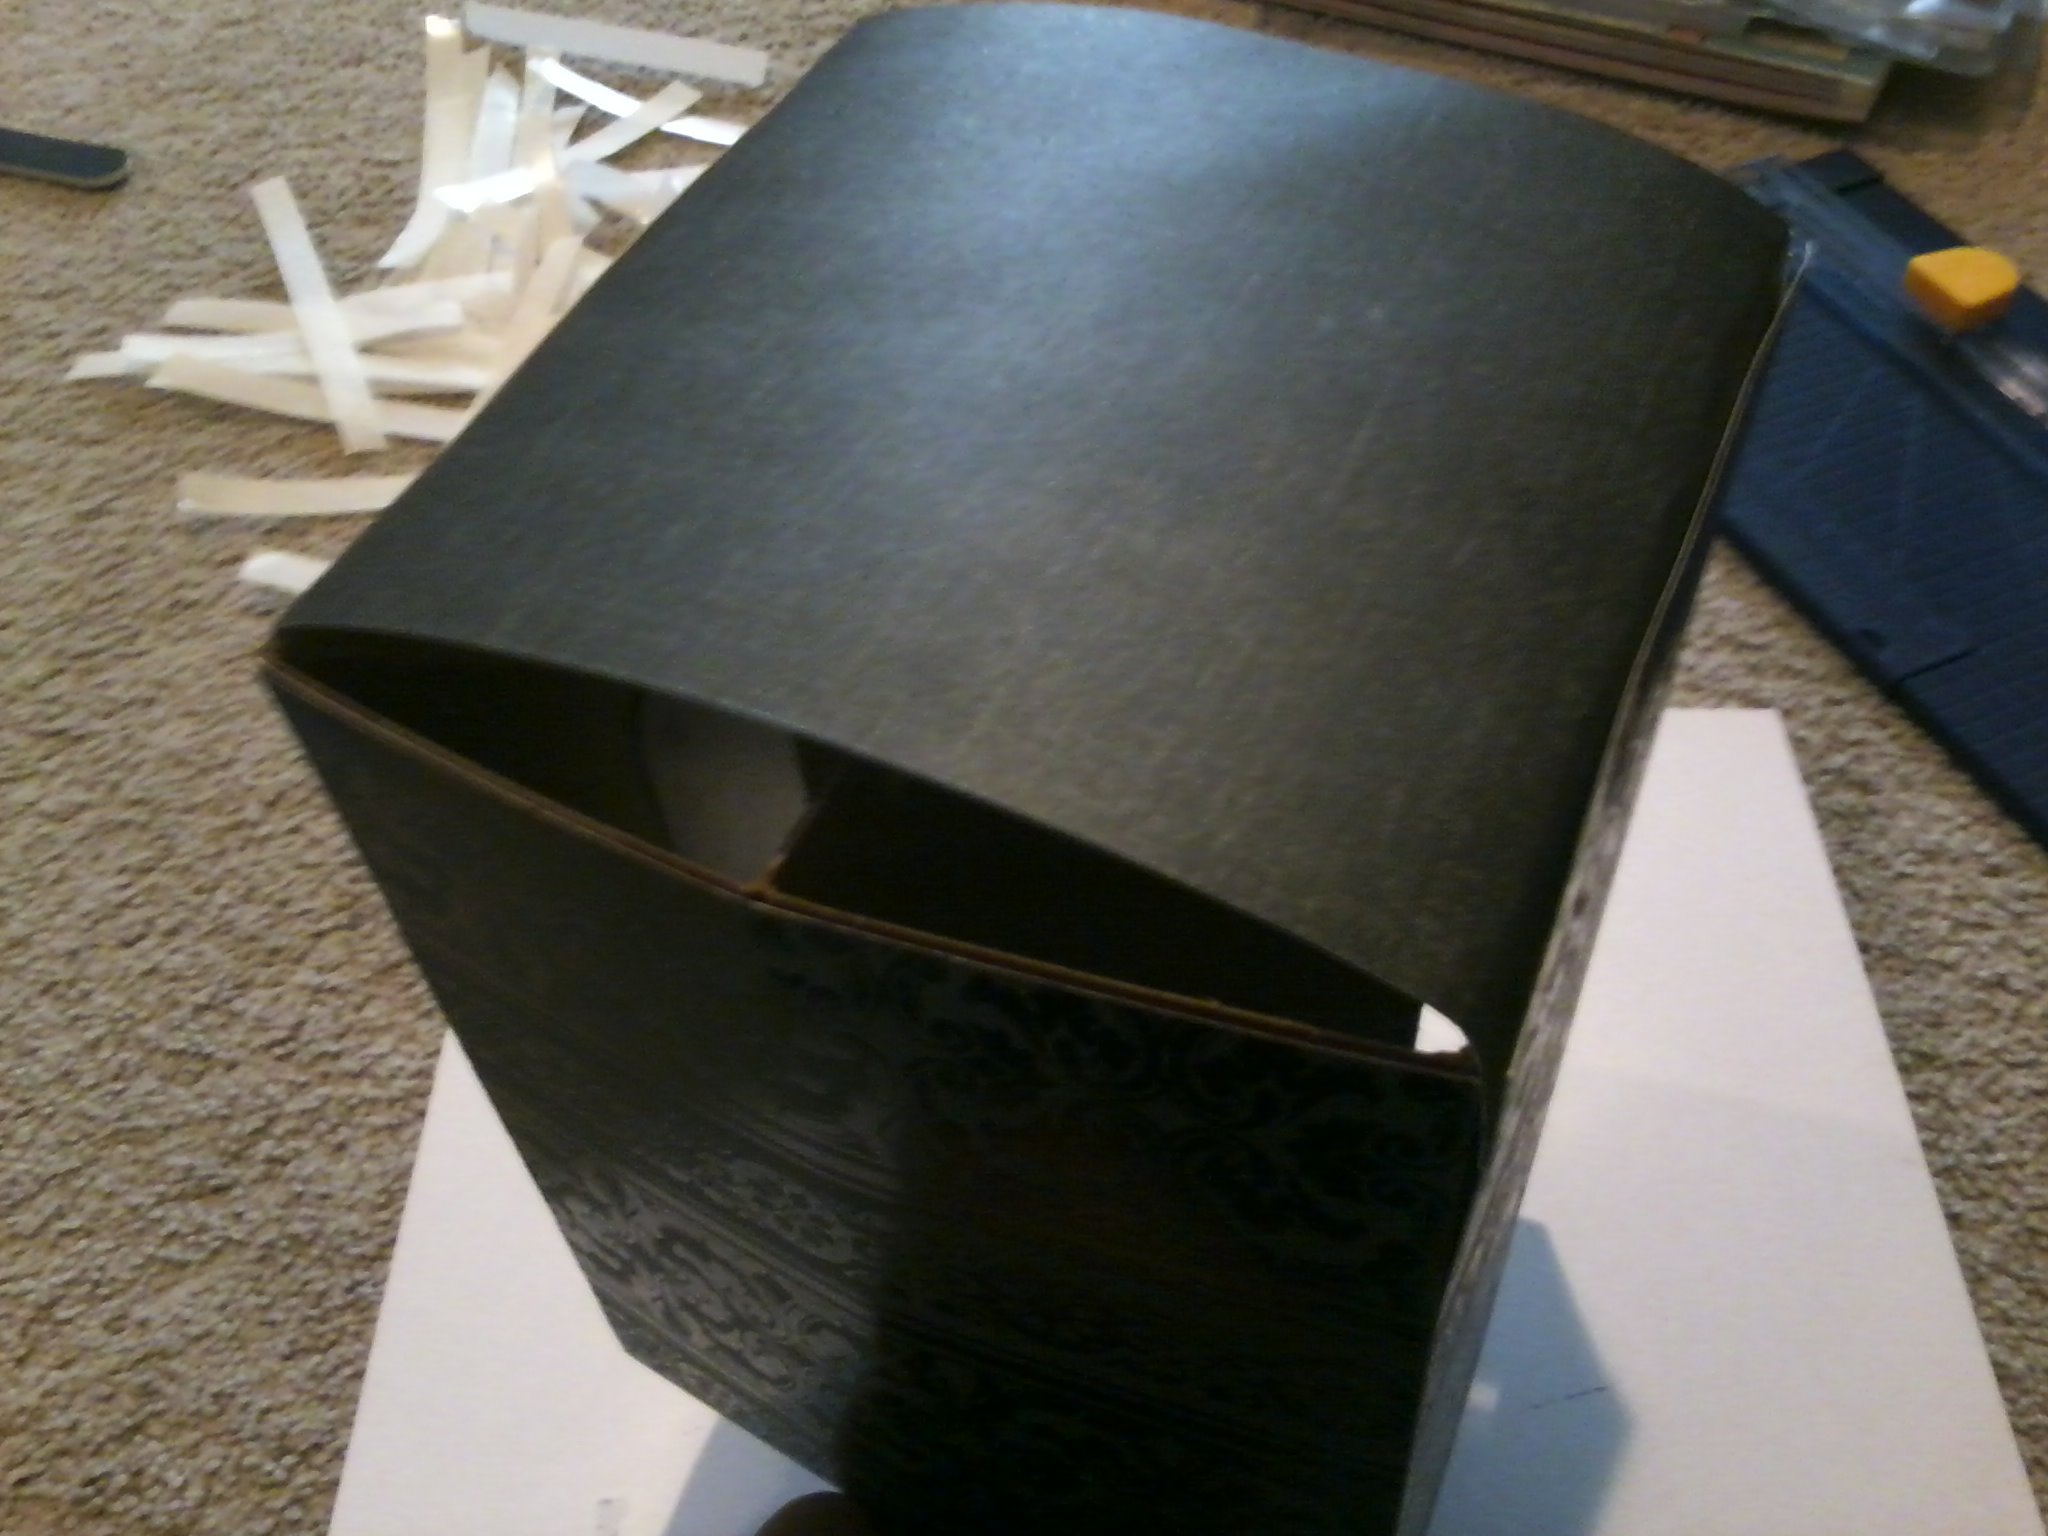
Now, I didn’t measure as well as I had thought – surprise, surprise! So I had a few gaps. I decided to add a folded strip to each corner to account for that, and fix some of the edges.


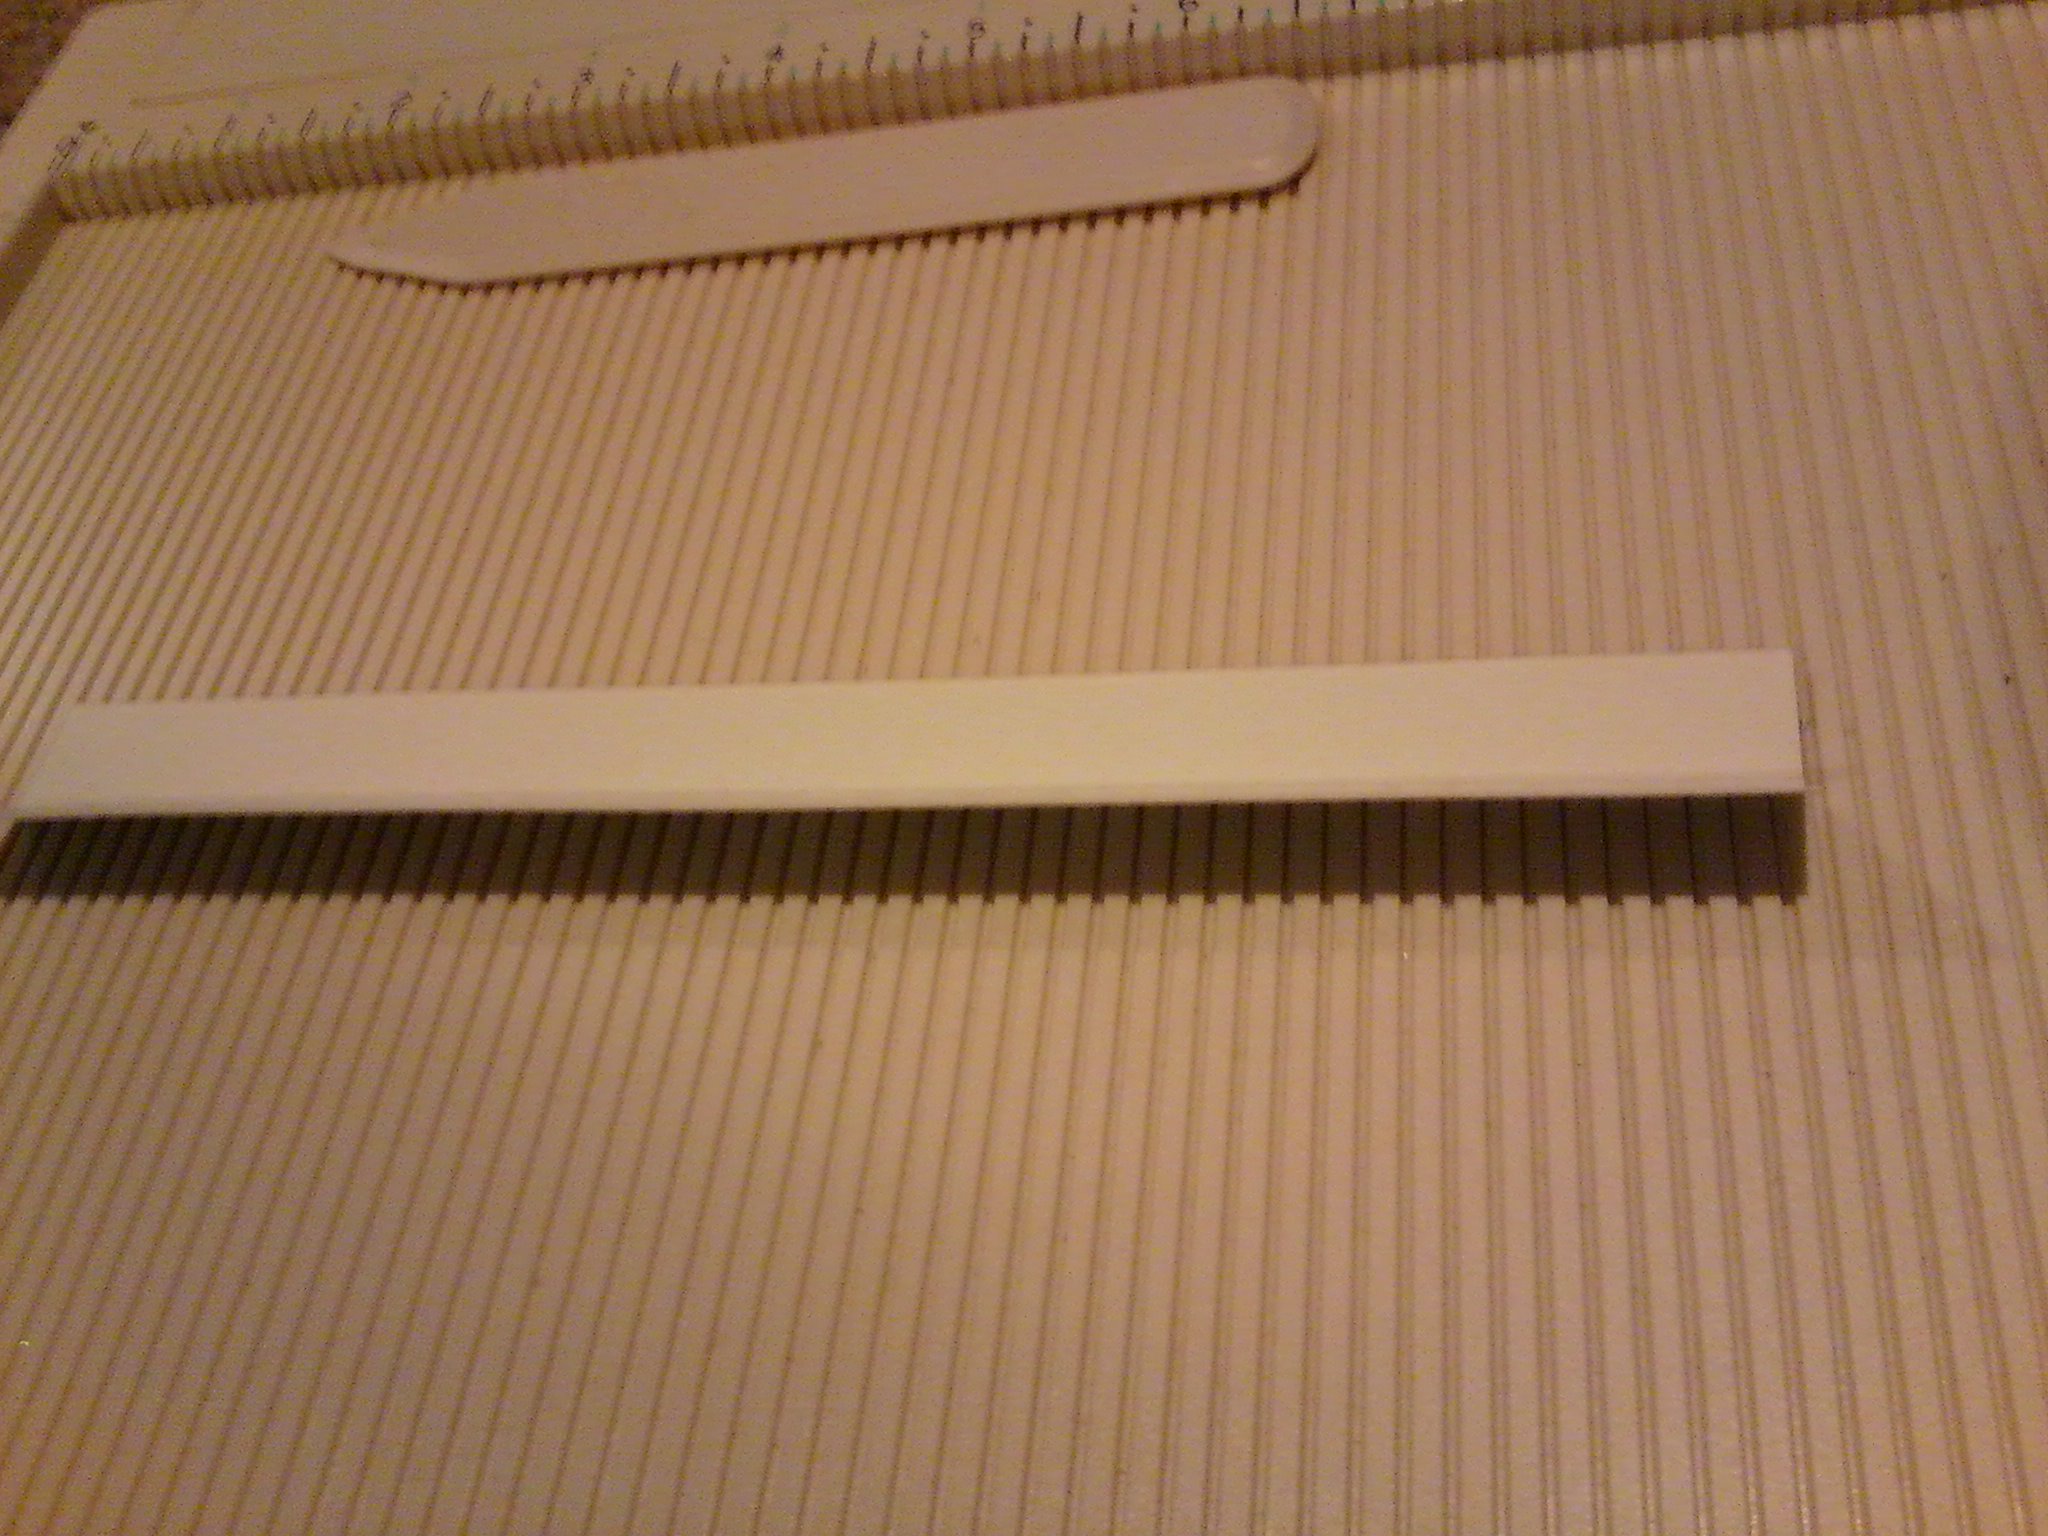

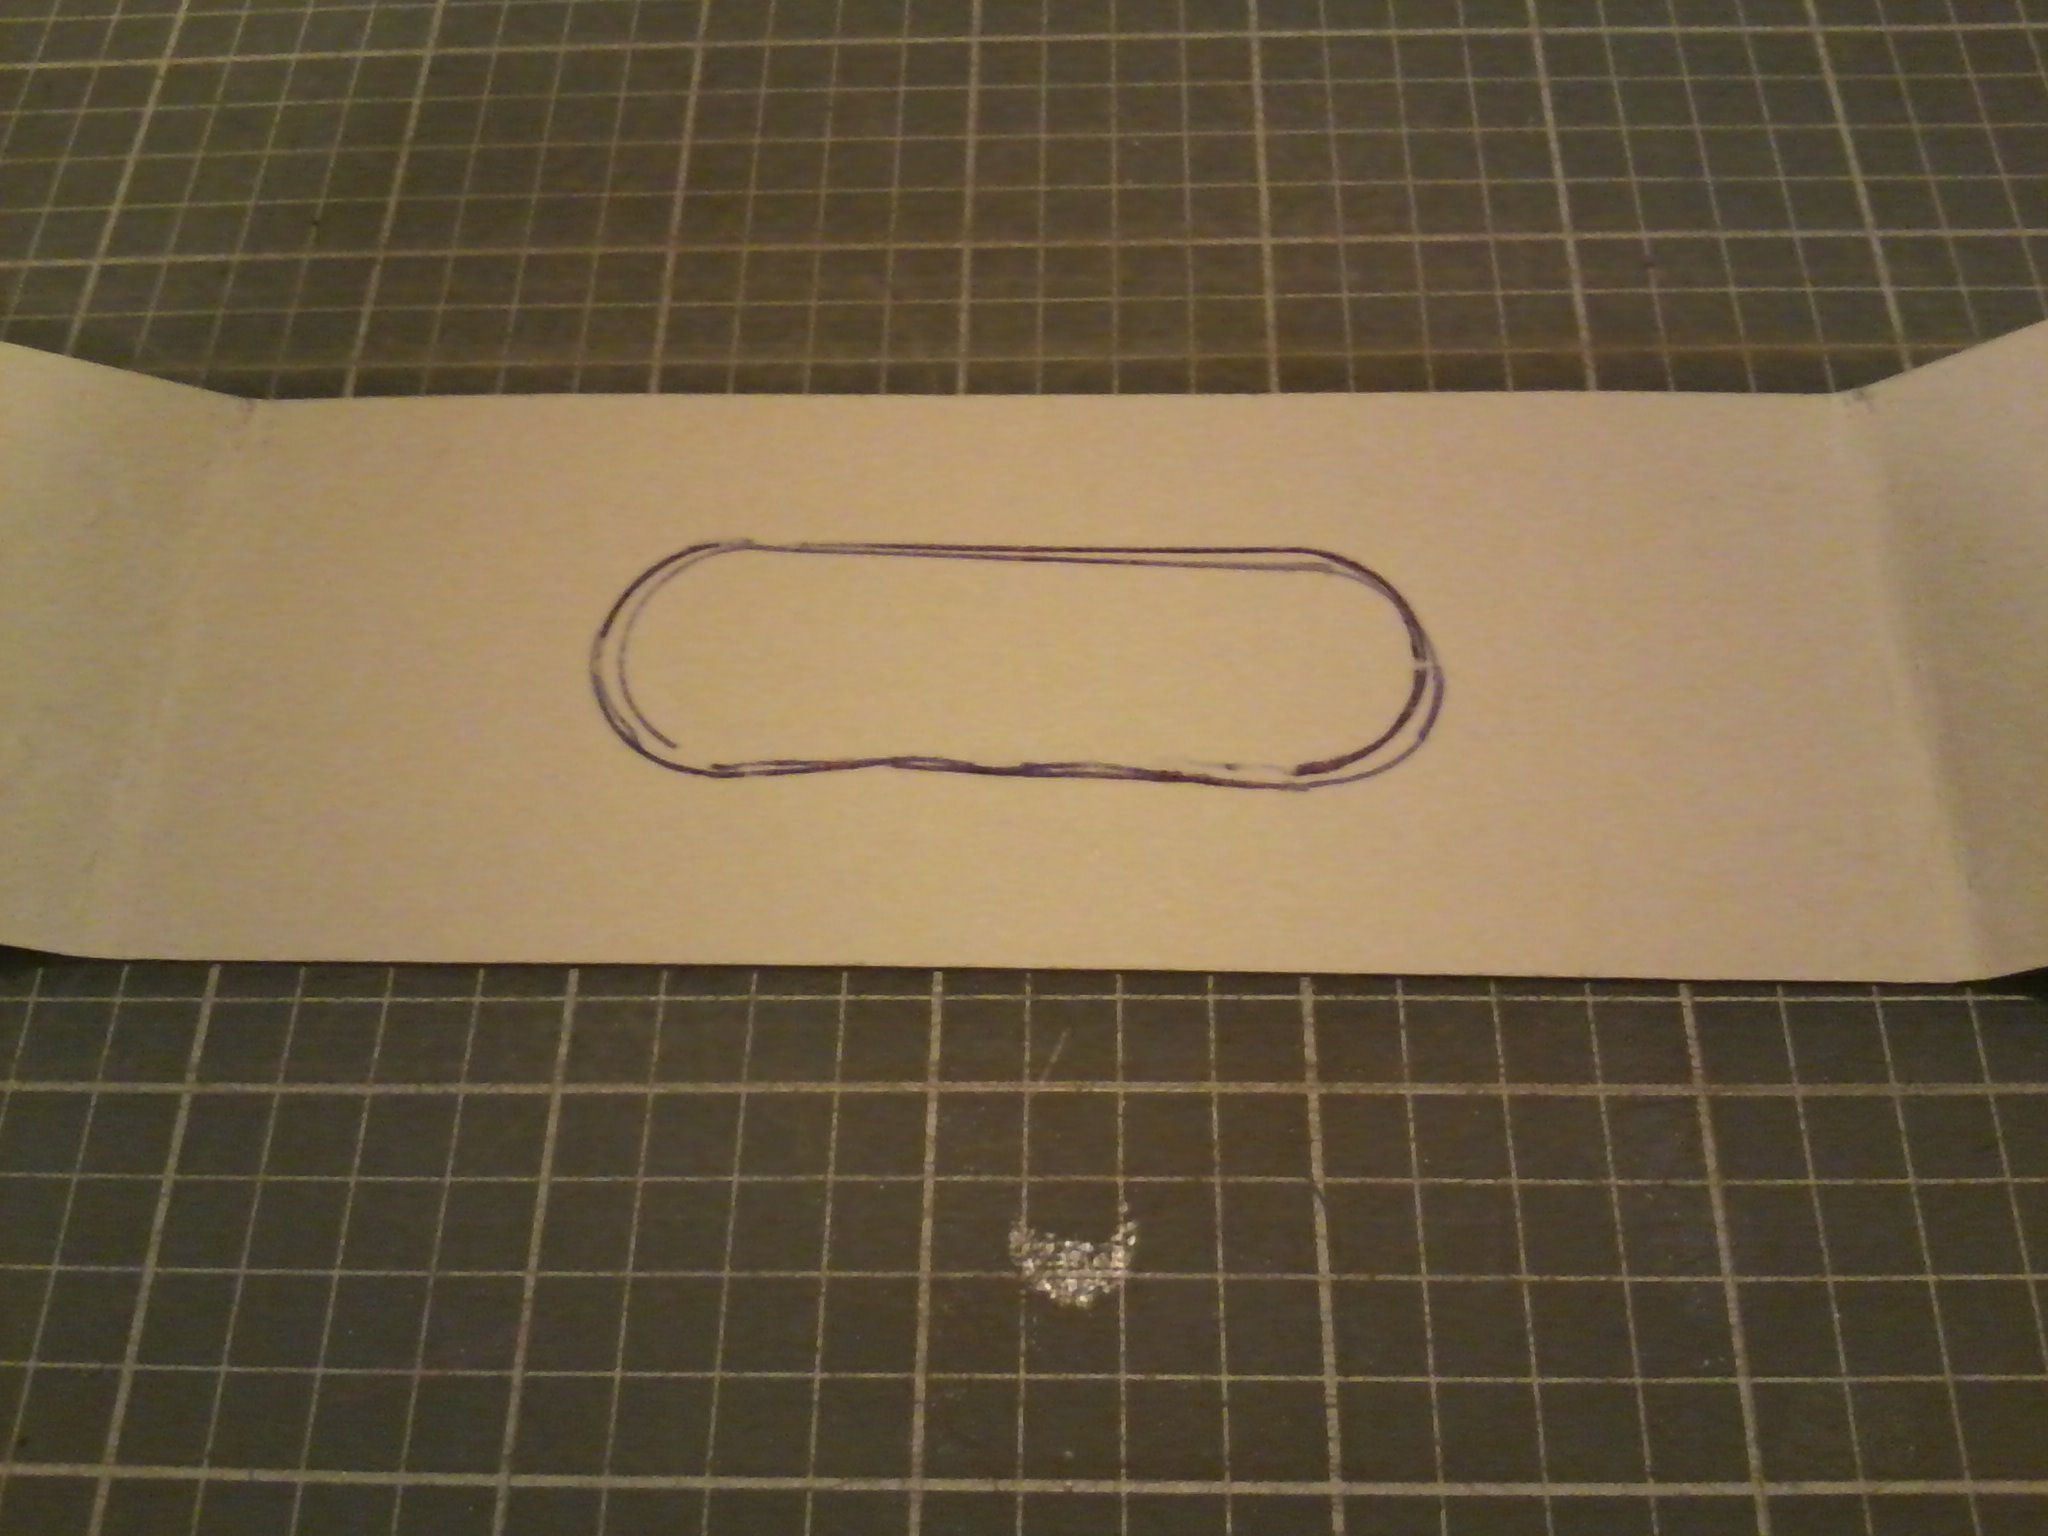
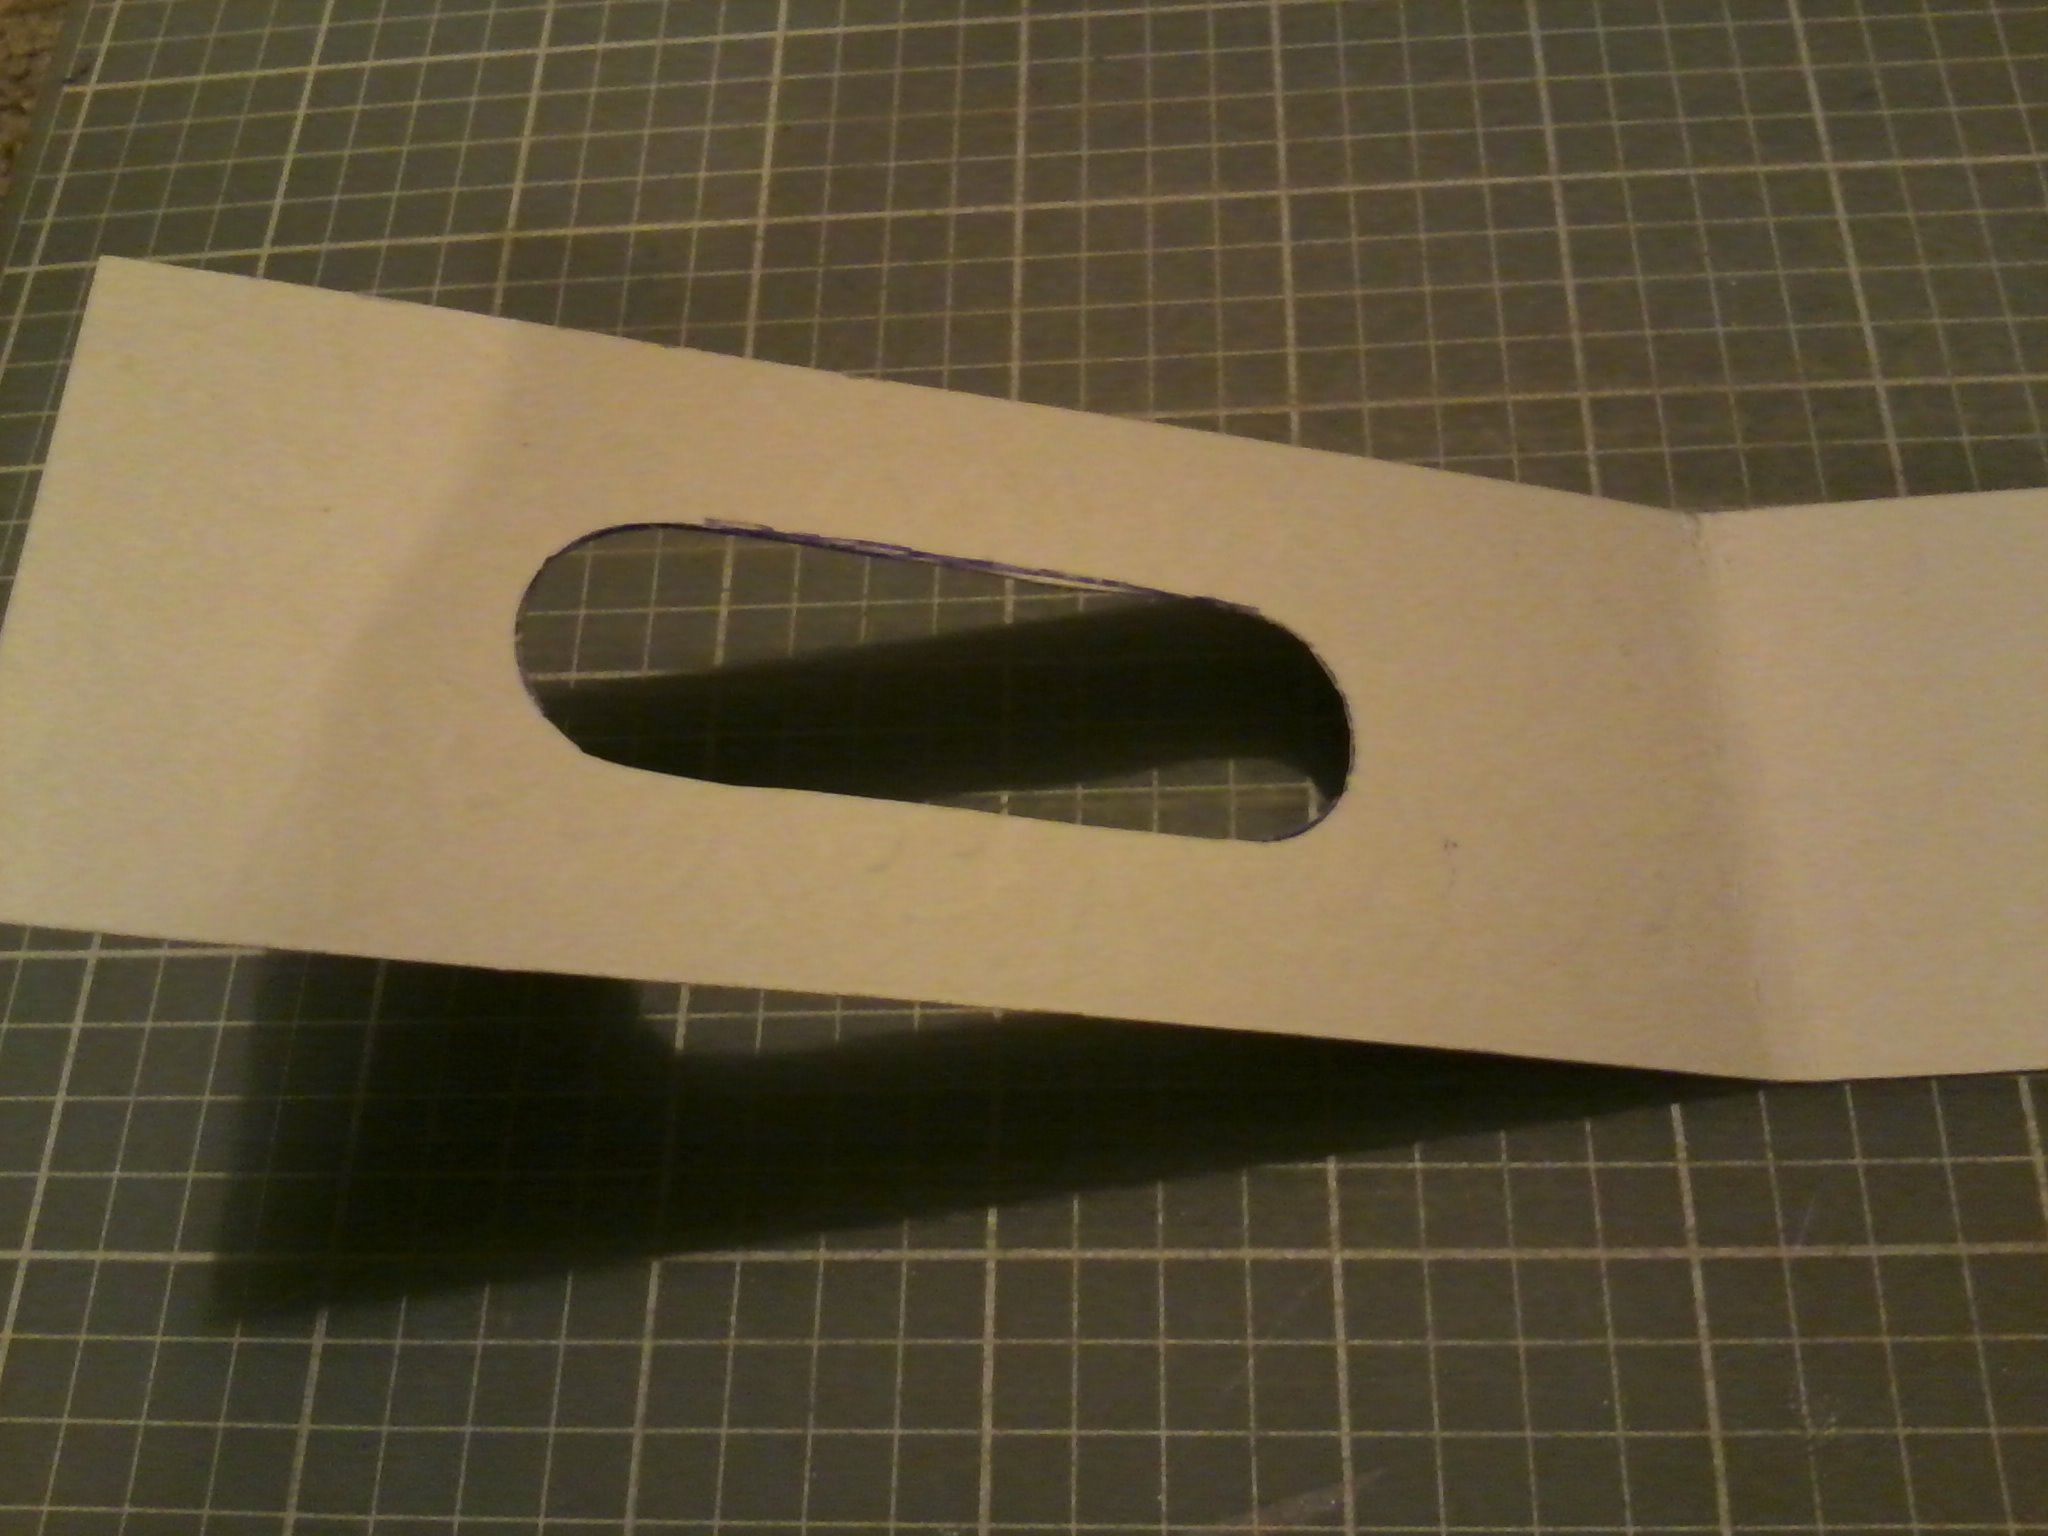
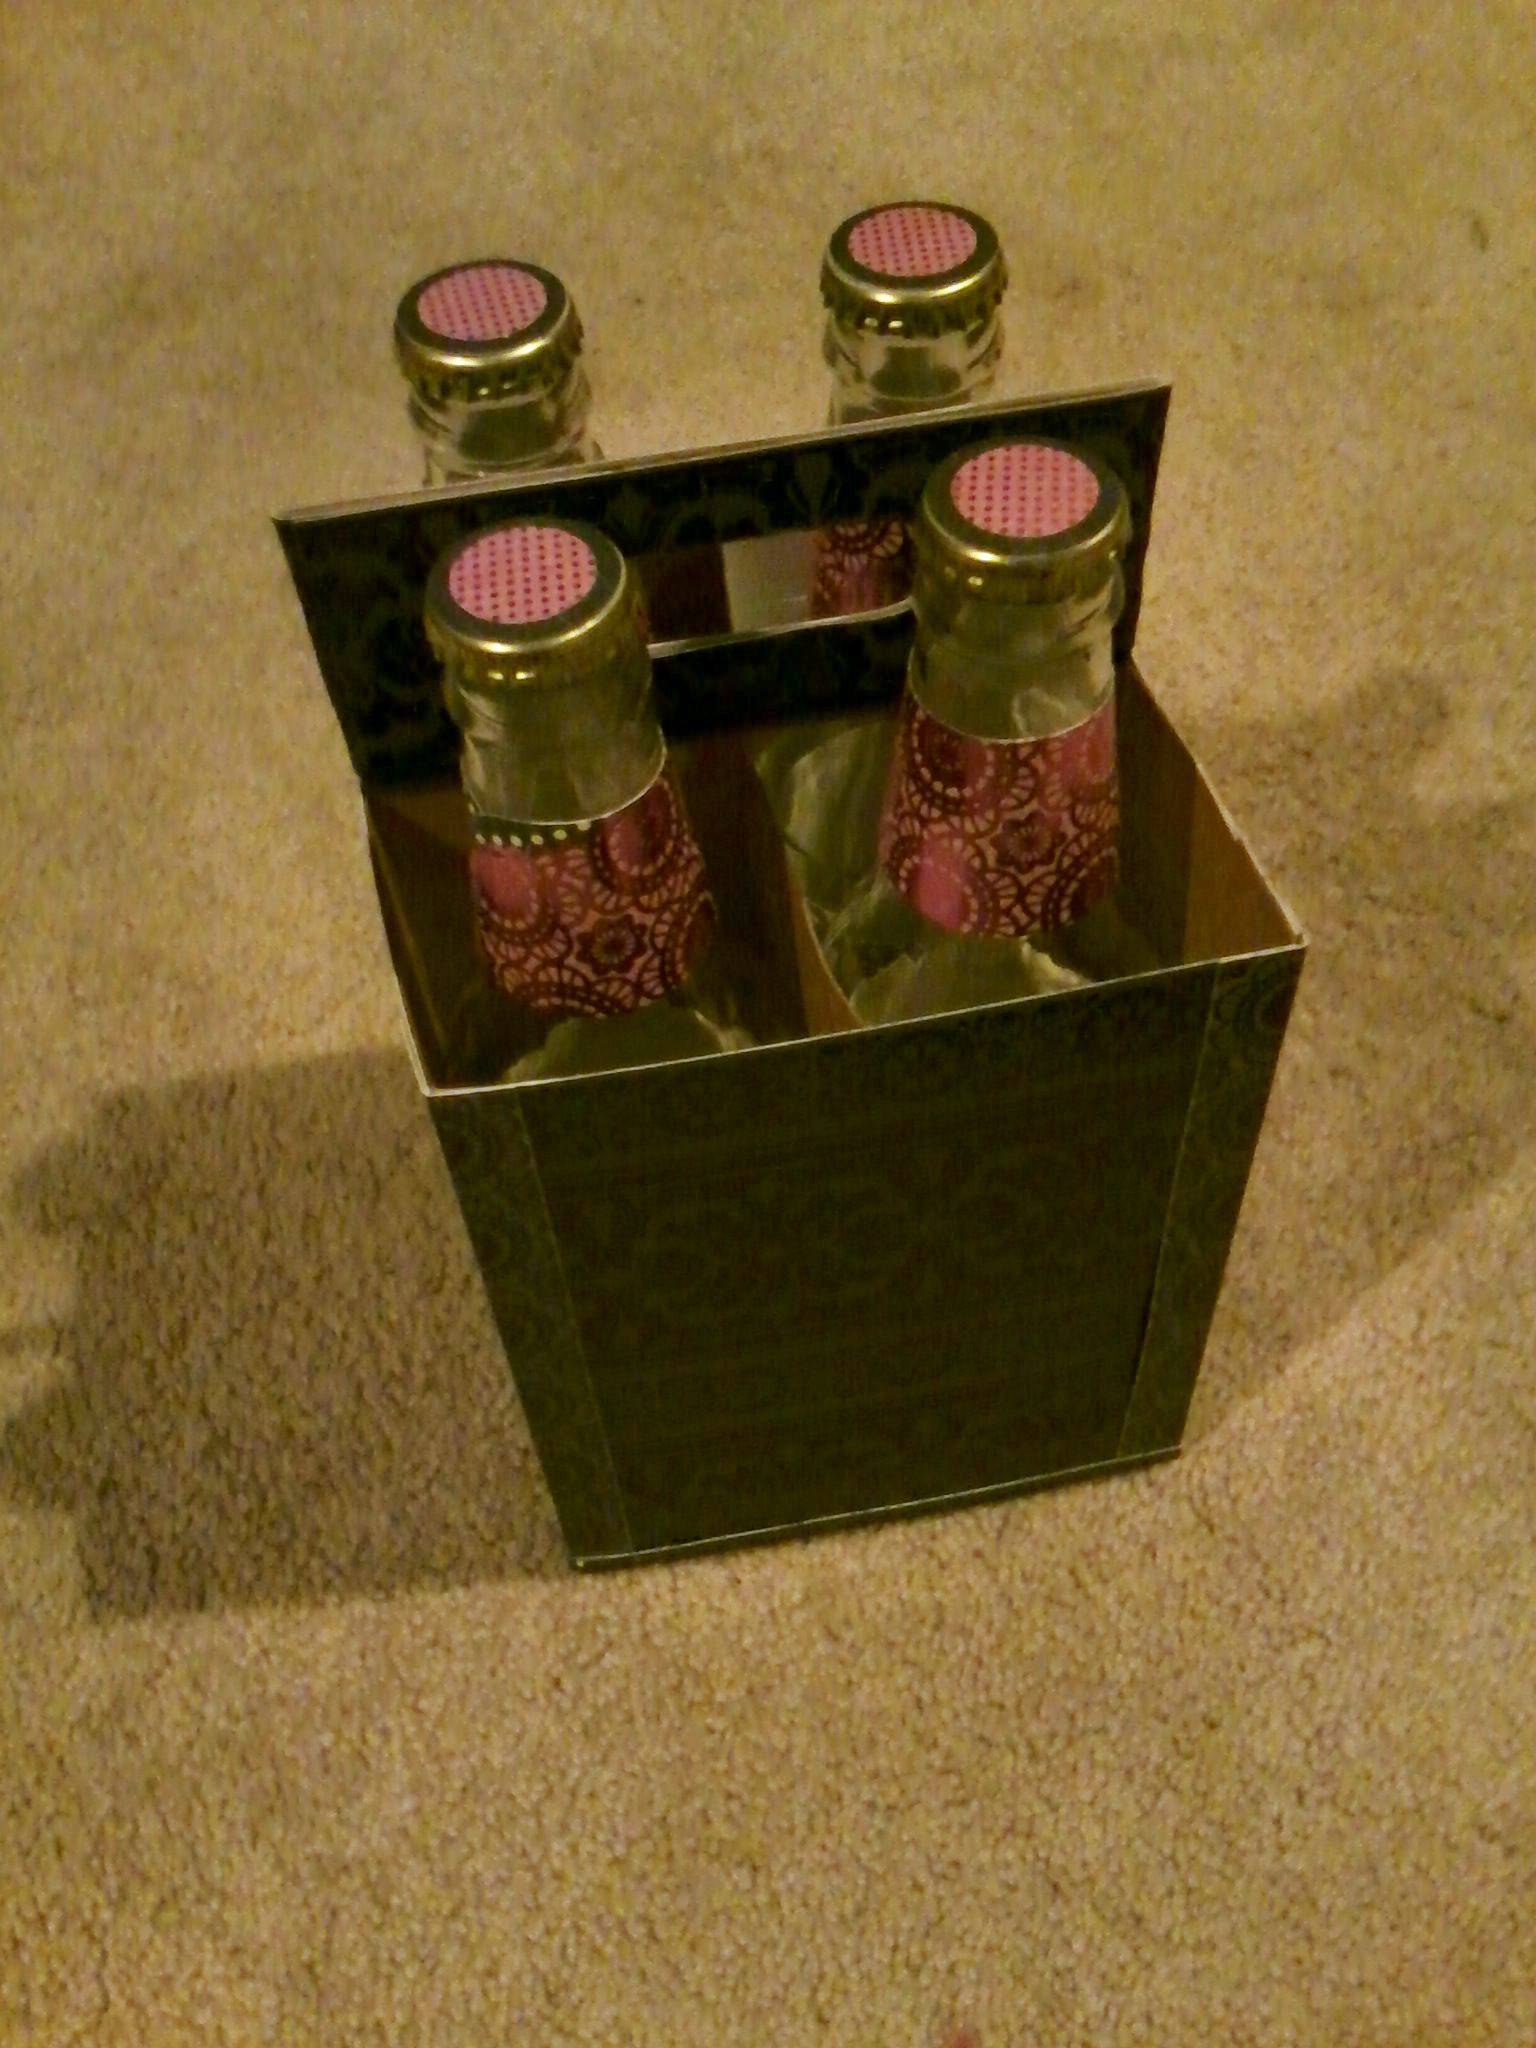
For the handle, I measured the height and cut a strip of paper to go around it on both sides. Next, I folded it around the sides to get creases. That way I could figure out where the hole in the handle should go. Then I just traced the hole onto my paper, cut it out, and adhered it to the handle part of the box.

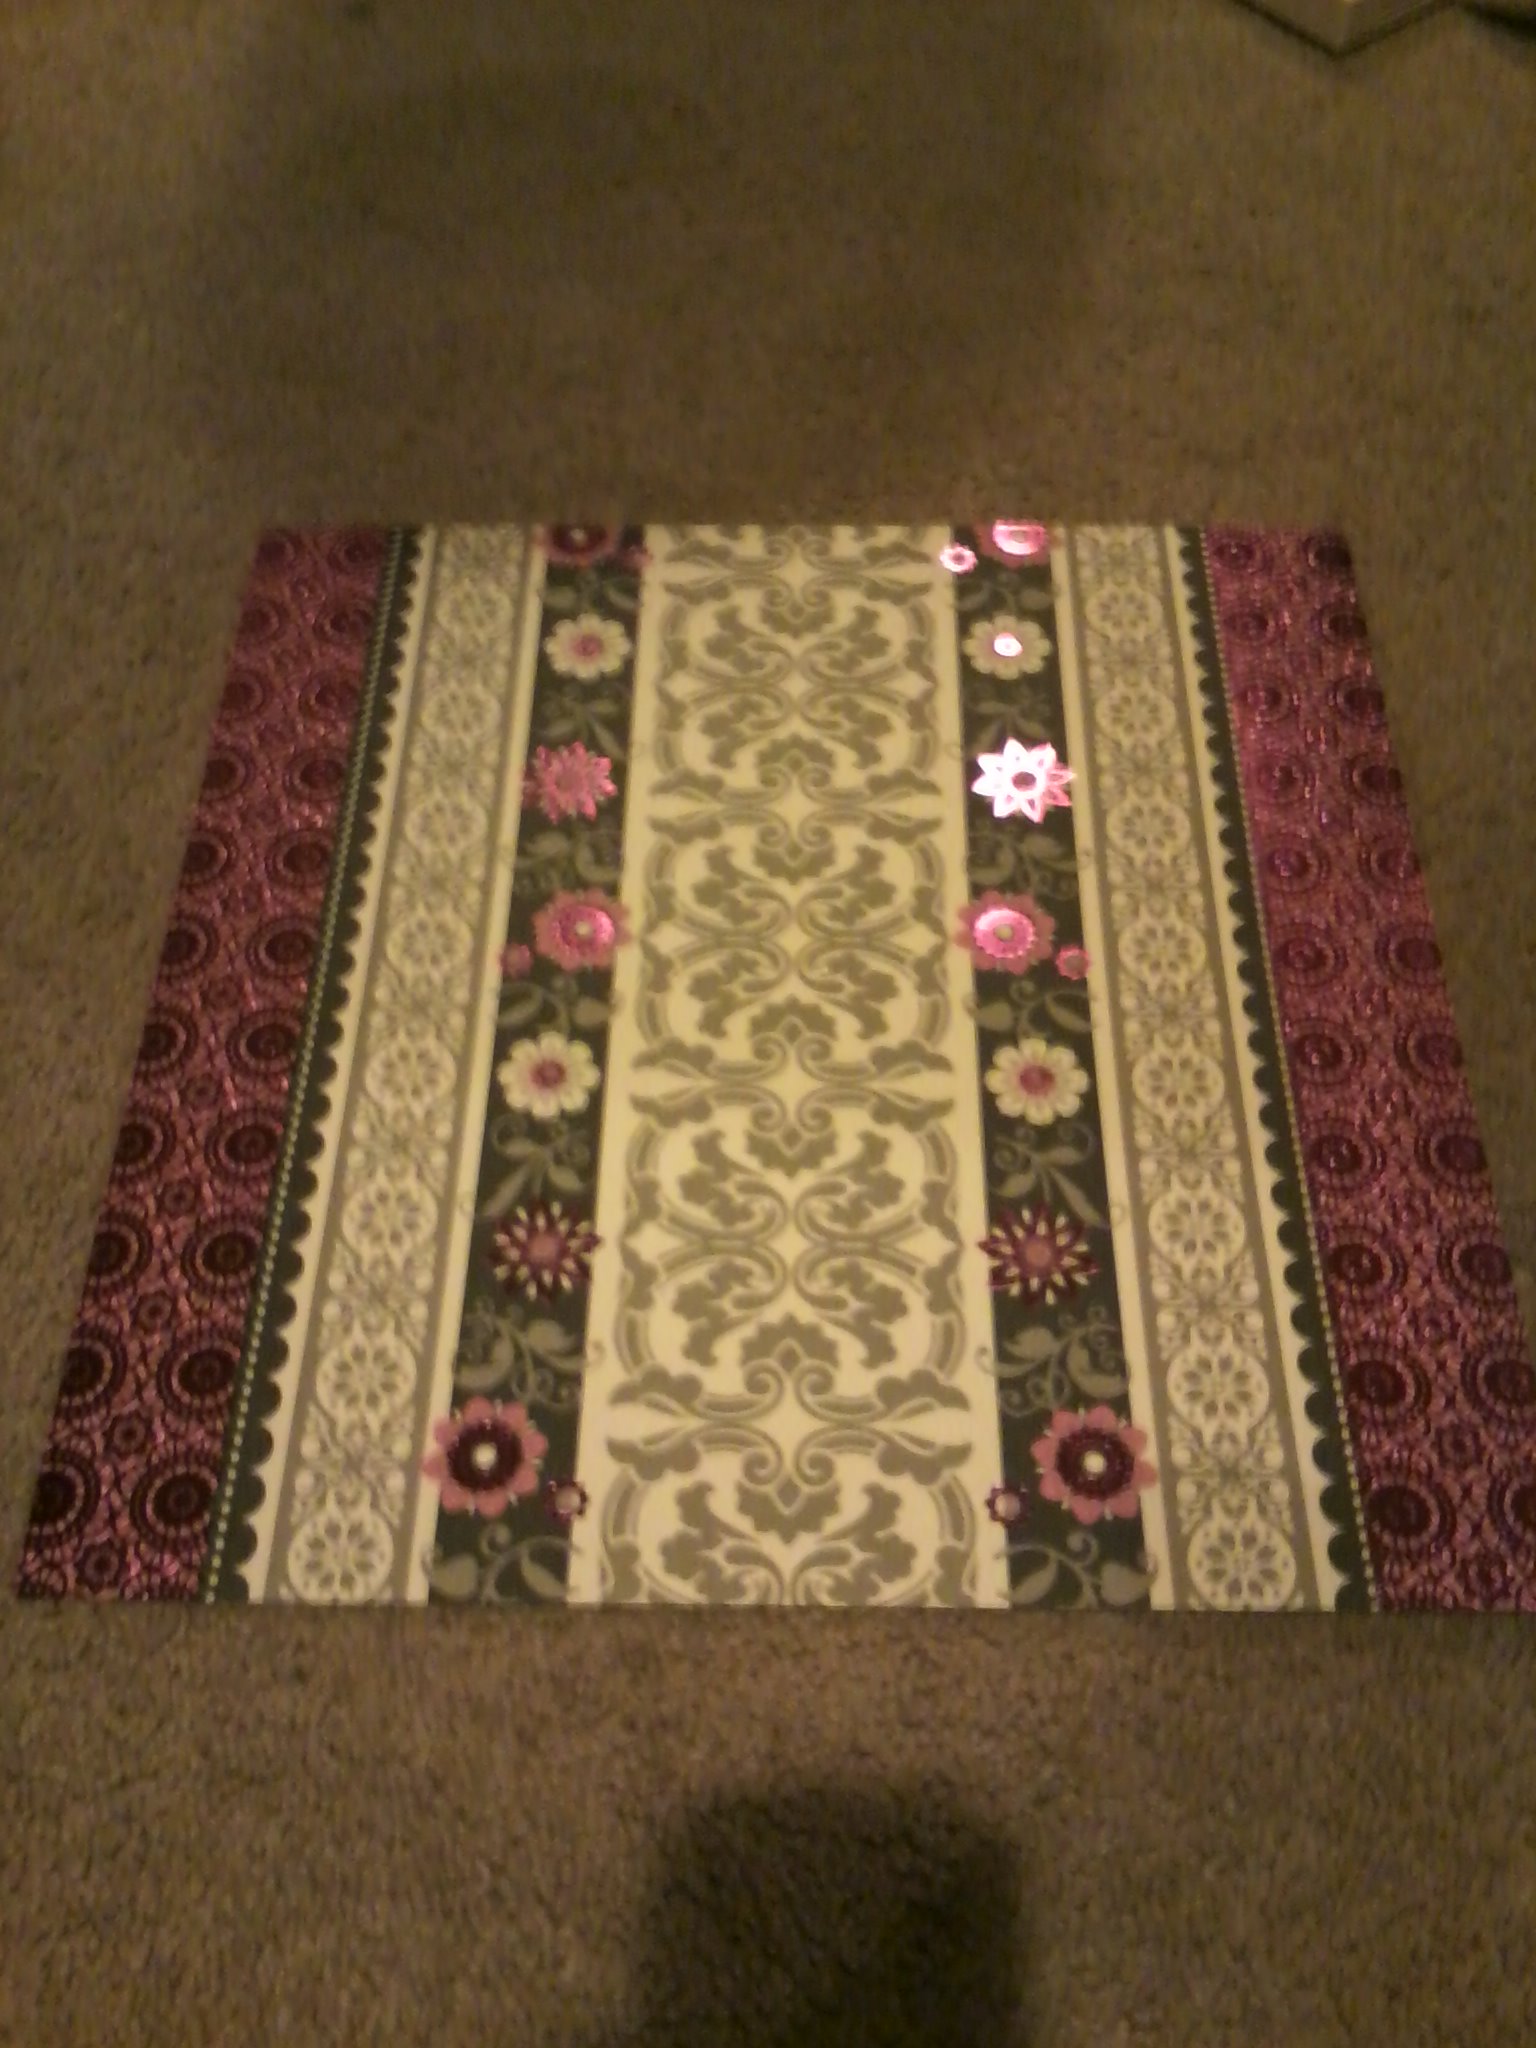
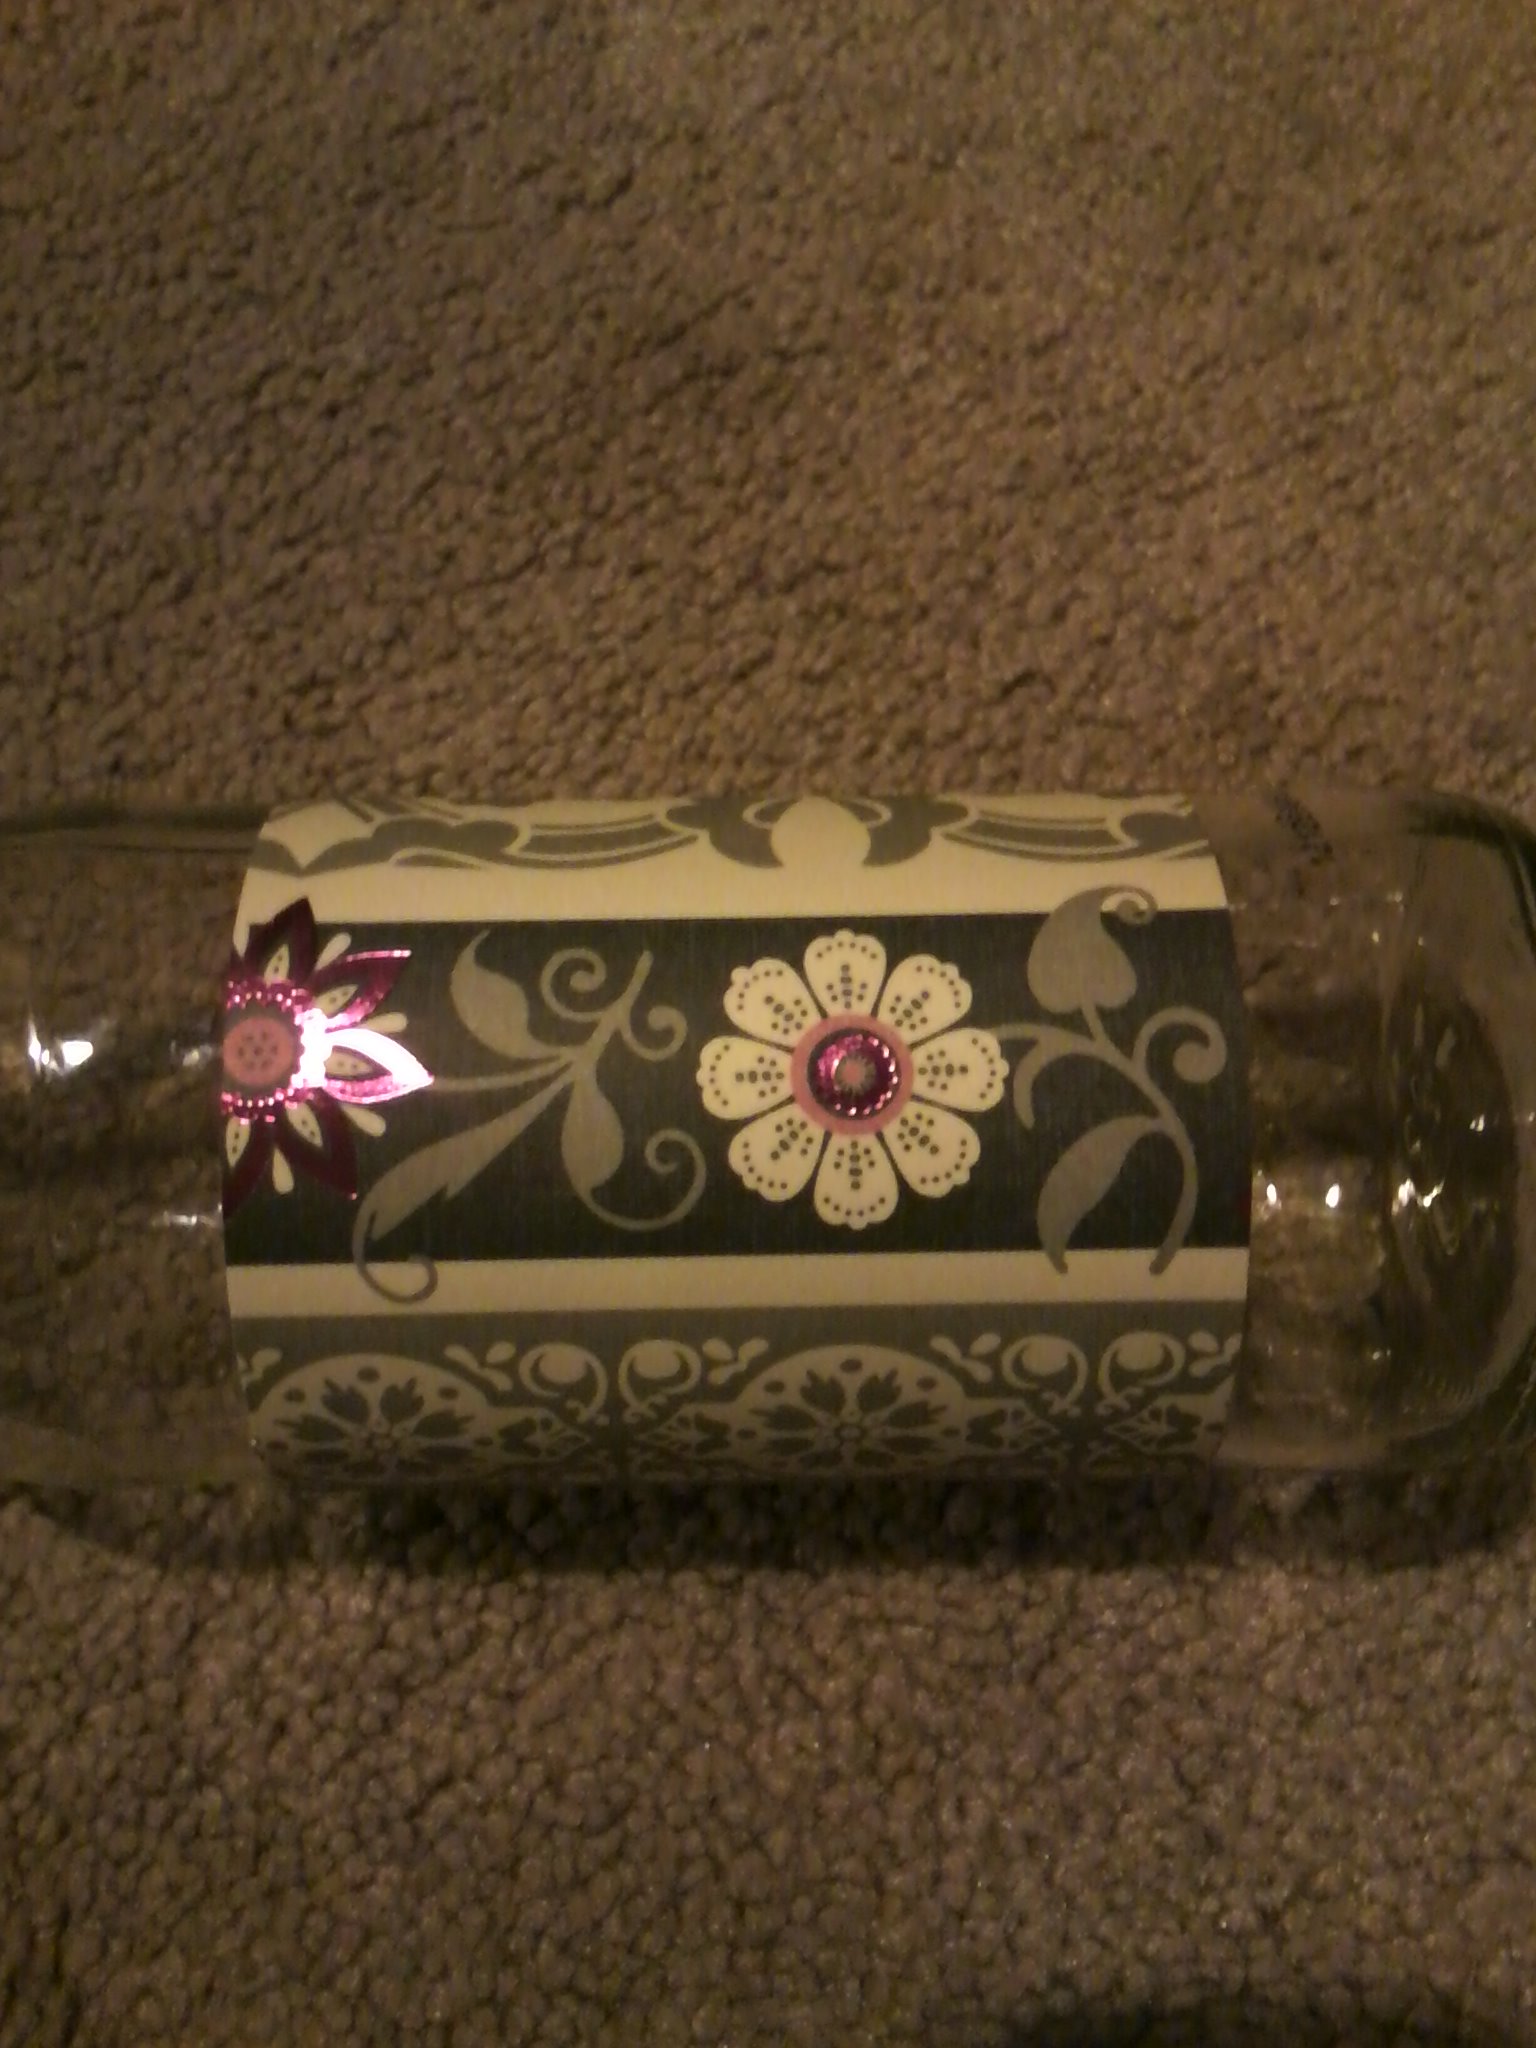
Now it’s time to pretty up the bottles! I apologize, in advance, for the blurriness of the next two photos, but I wanted to show you what I originally used. I could not find a link to this particular stack, but I found this paper (all the papers I used on this project actually came from the same stack) in a stack by DCWV. I love their stacks! It may actually be an addiction now… Anywhoo, I chose this paper because of the lines and thought they would look nice around the center of the bottle. I cut off the pink outsides, and left the cream-colored inside. Then I cut it into four strips long enough to go around the center of the bottles.
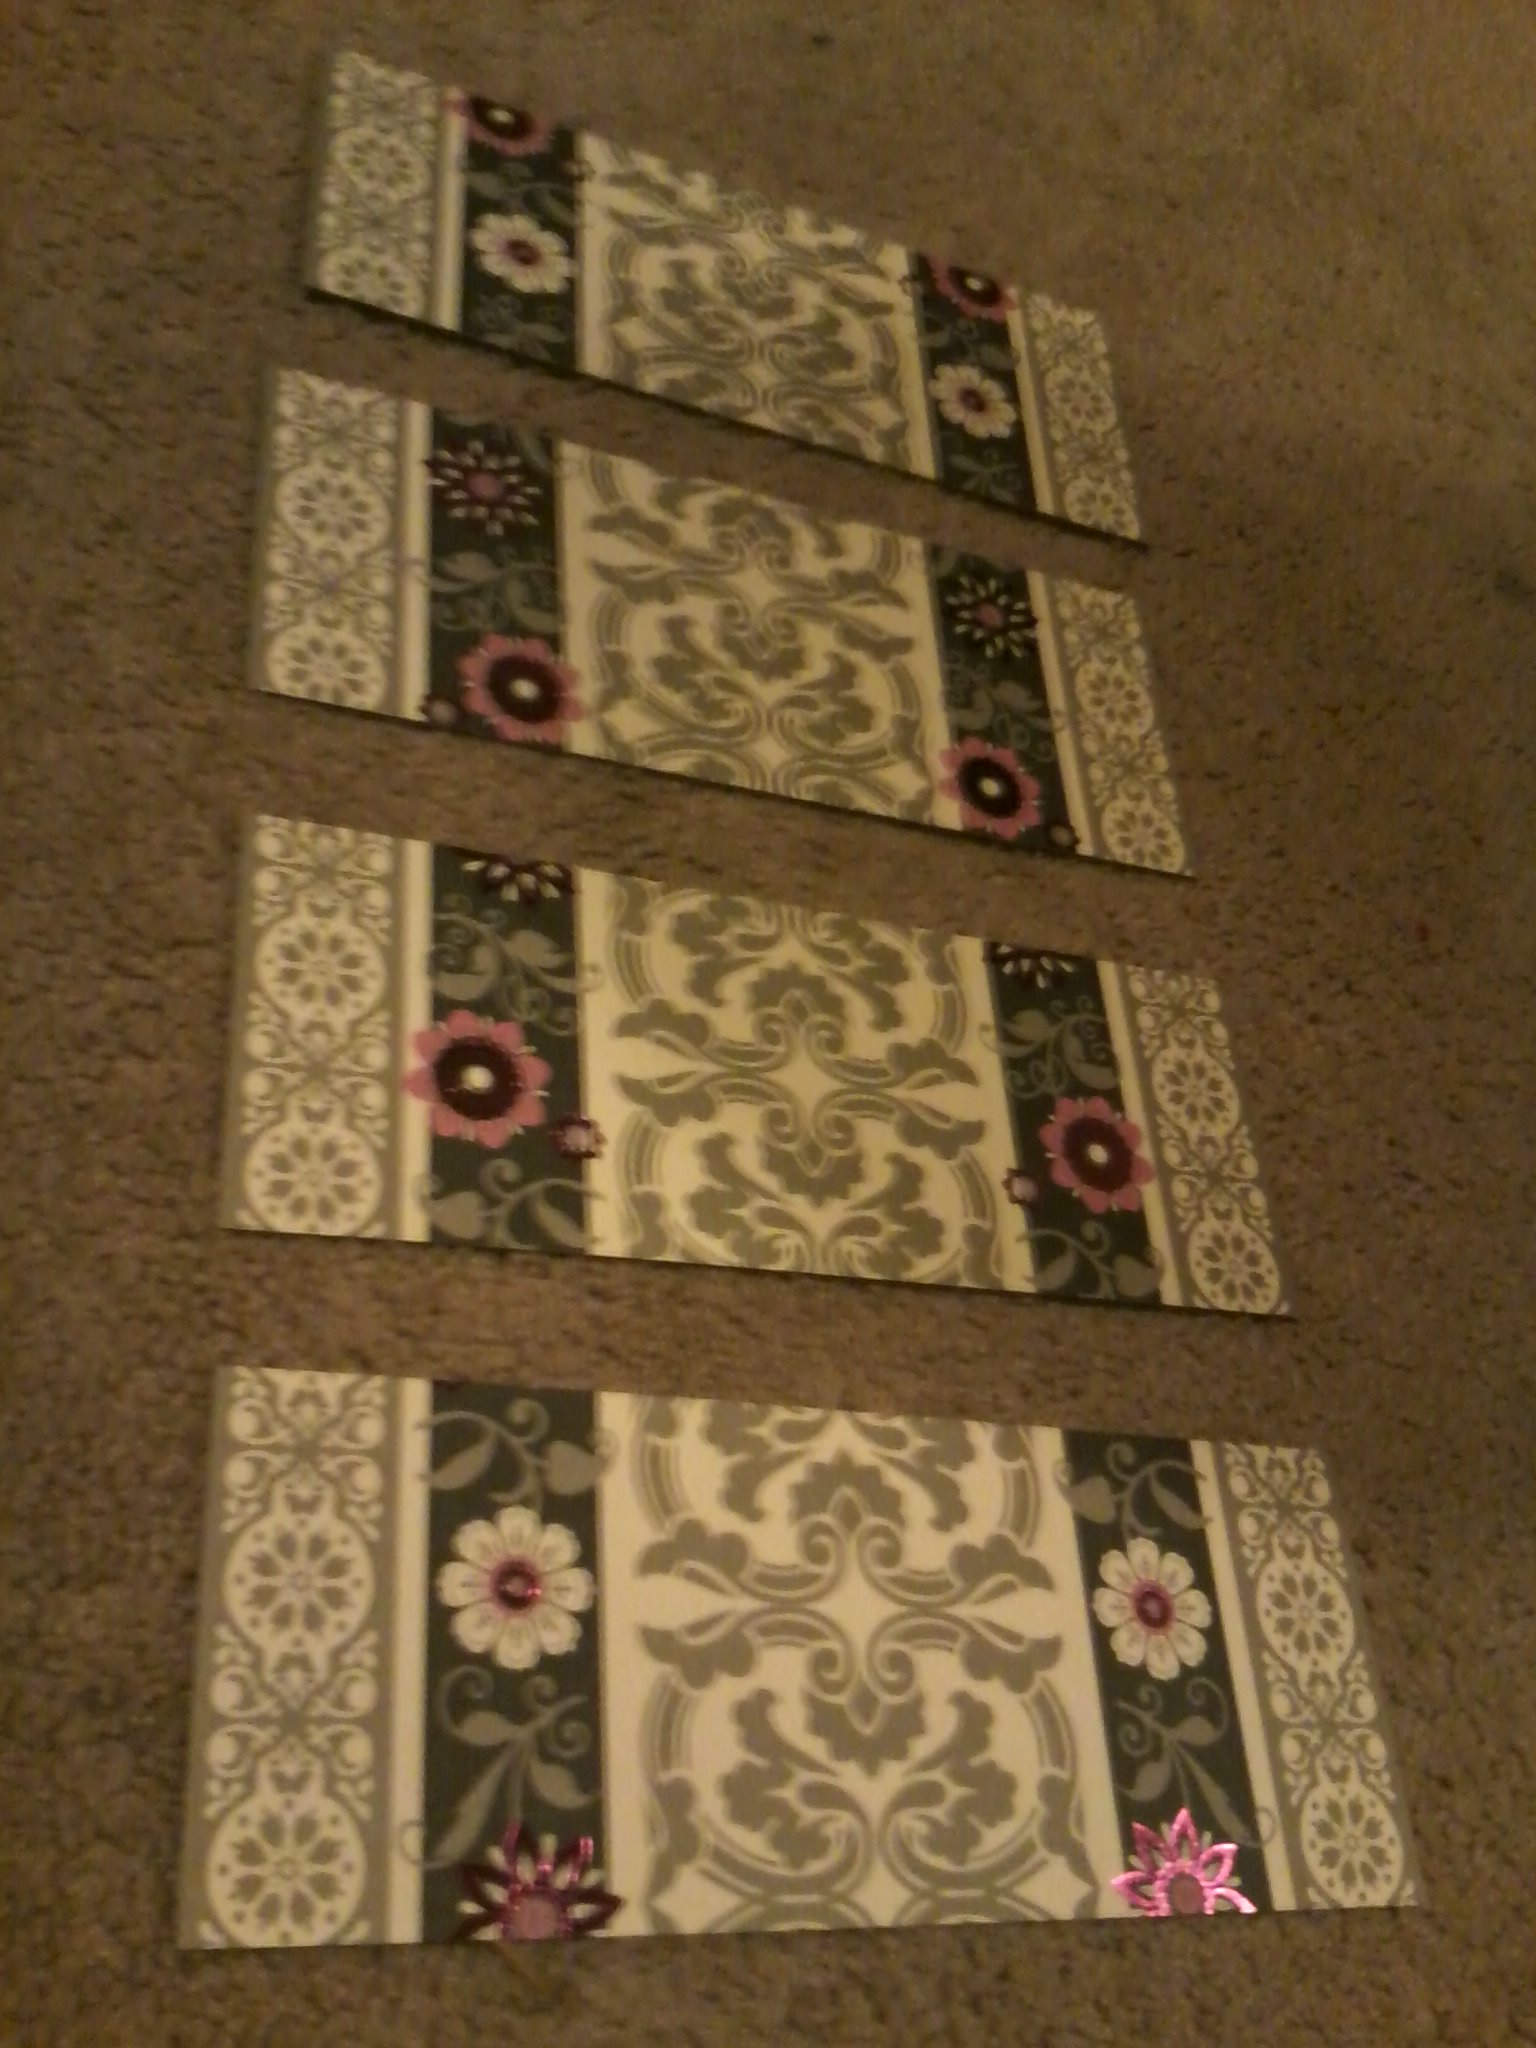
One by one, I took each strip and wrapped it around each bottle. Here is where a thinner style paper definitely would have come in handy. It took several attempts with different types of adhesive to get the thicker paper to stay put. But my perseverance paid off and they really looked good.
Now this next step may be a little tricky. I was fortunate to have the top label of the bottle come off very easily and in one piece. Because of this, I was able to trace it and make four identical wraps. Where this gets tricky is if yours doesn’t come off in one piece and your bottle is wider at the bottom than it is at the top. If you have to create something from scratch, keep in mind the the curve at the top will be shorter than the curve at the bottom in order to get it to wrap smoothly. I hope that makes sense. I apologize, but I don’t have a picture of the original template to show you what I mean.
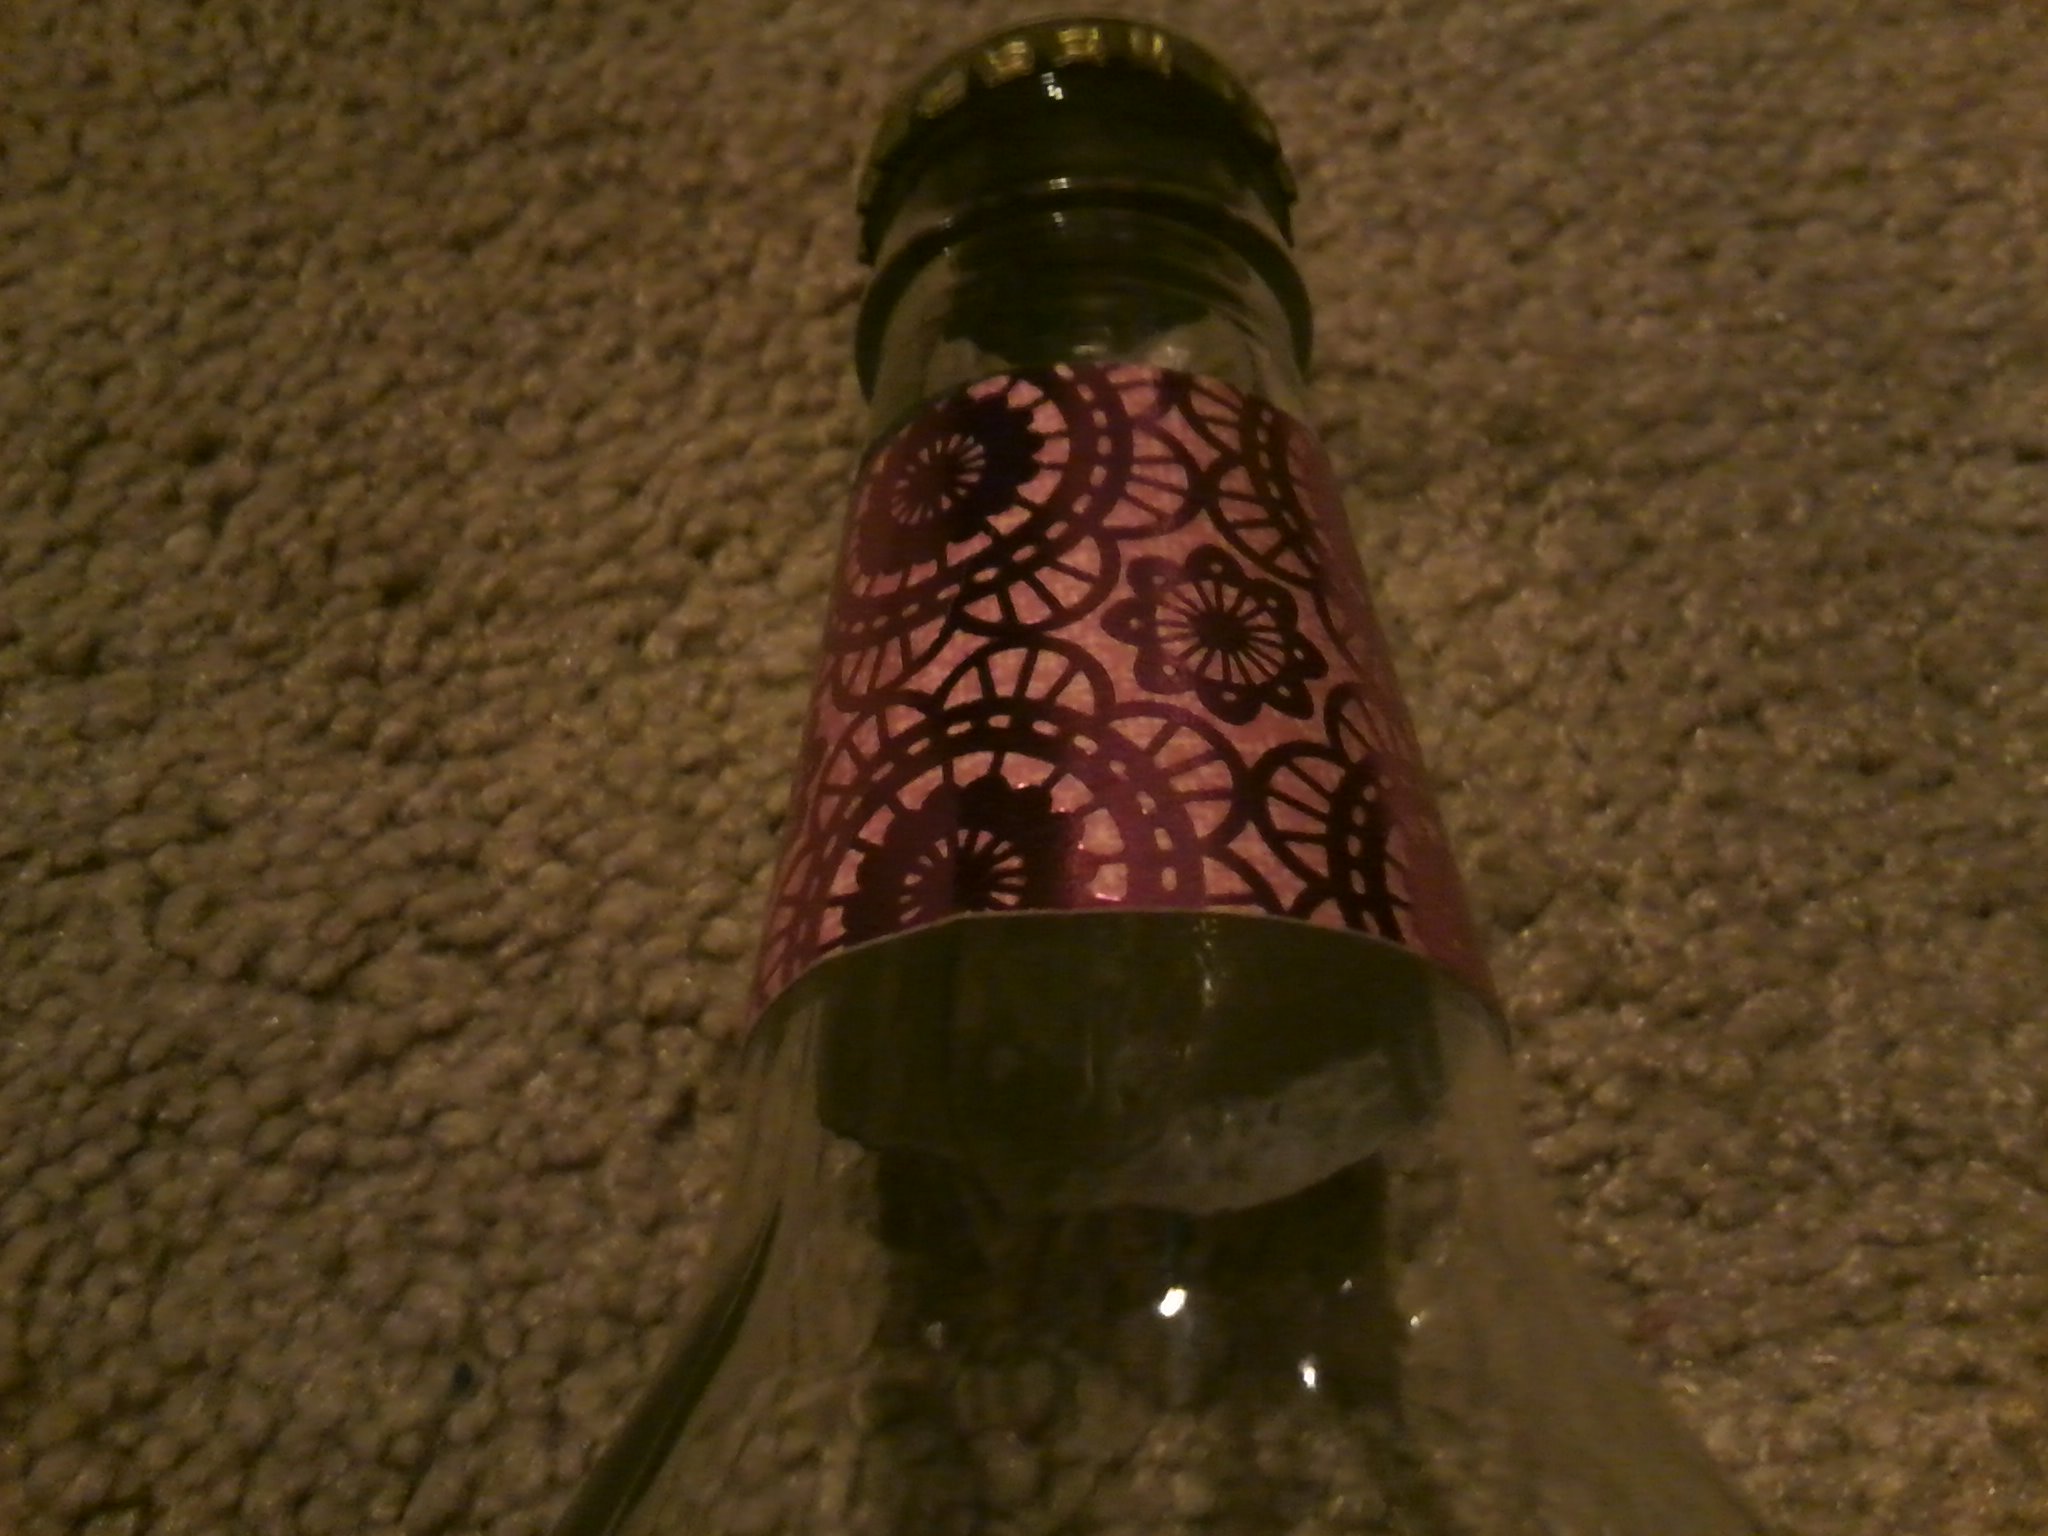

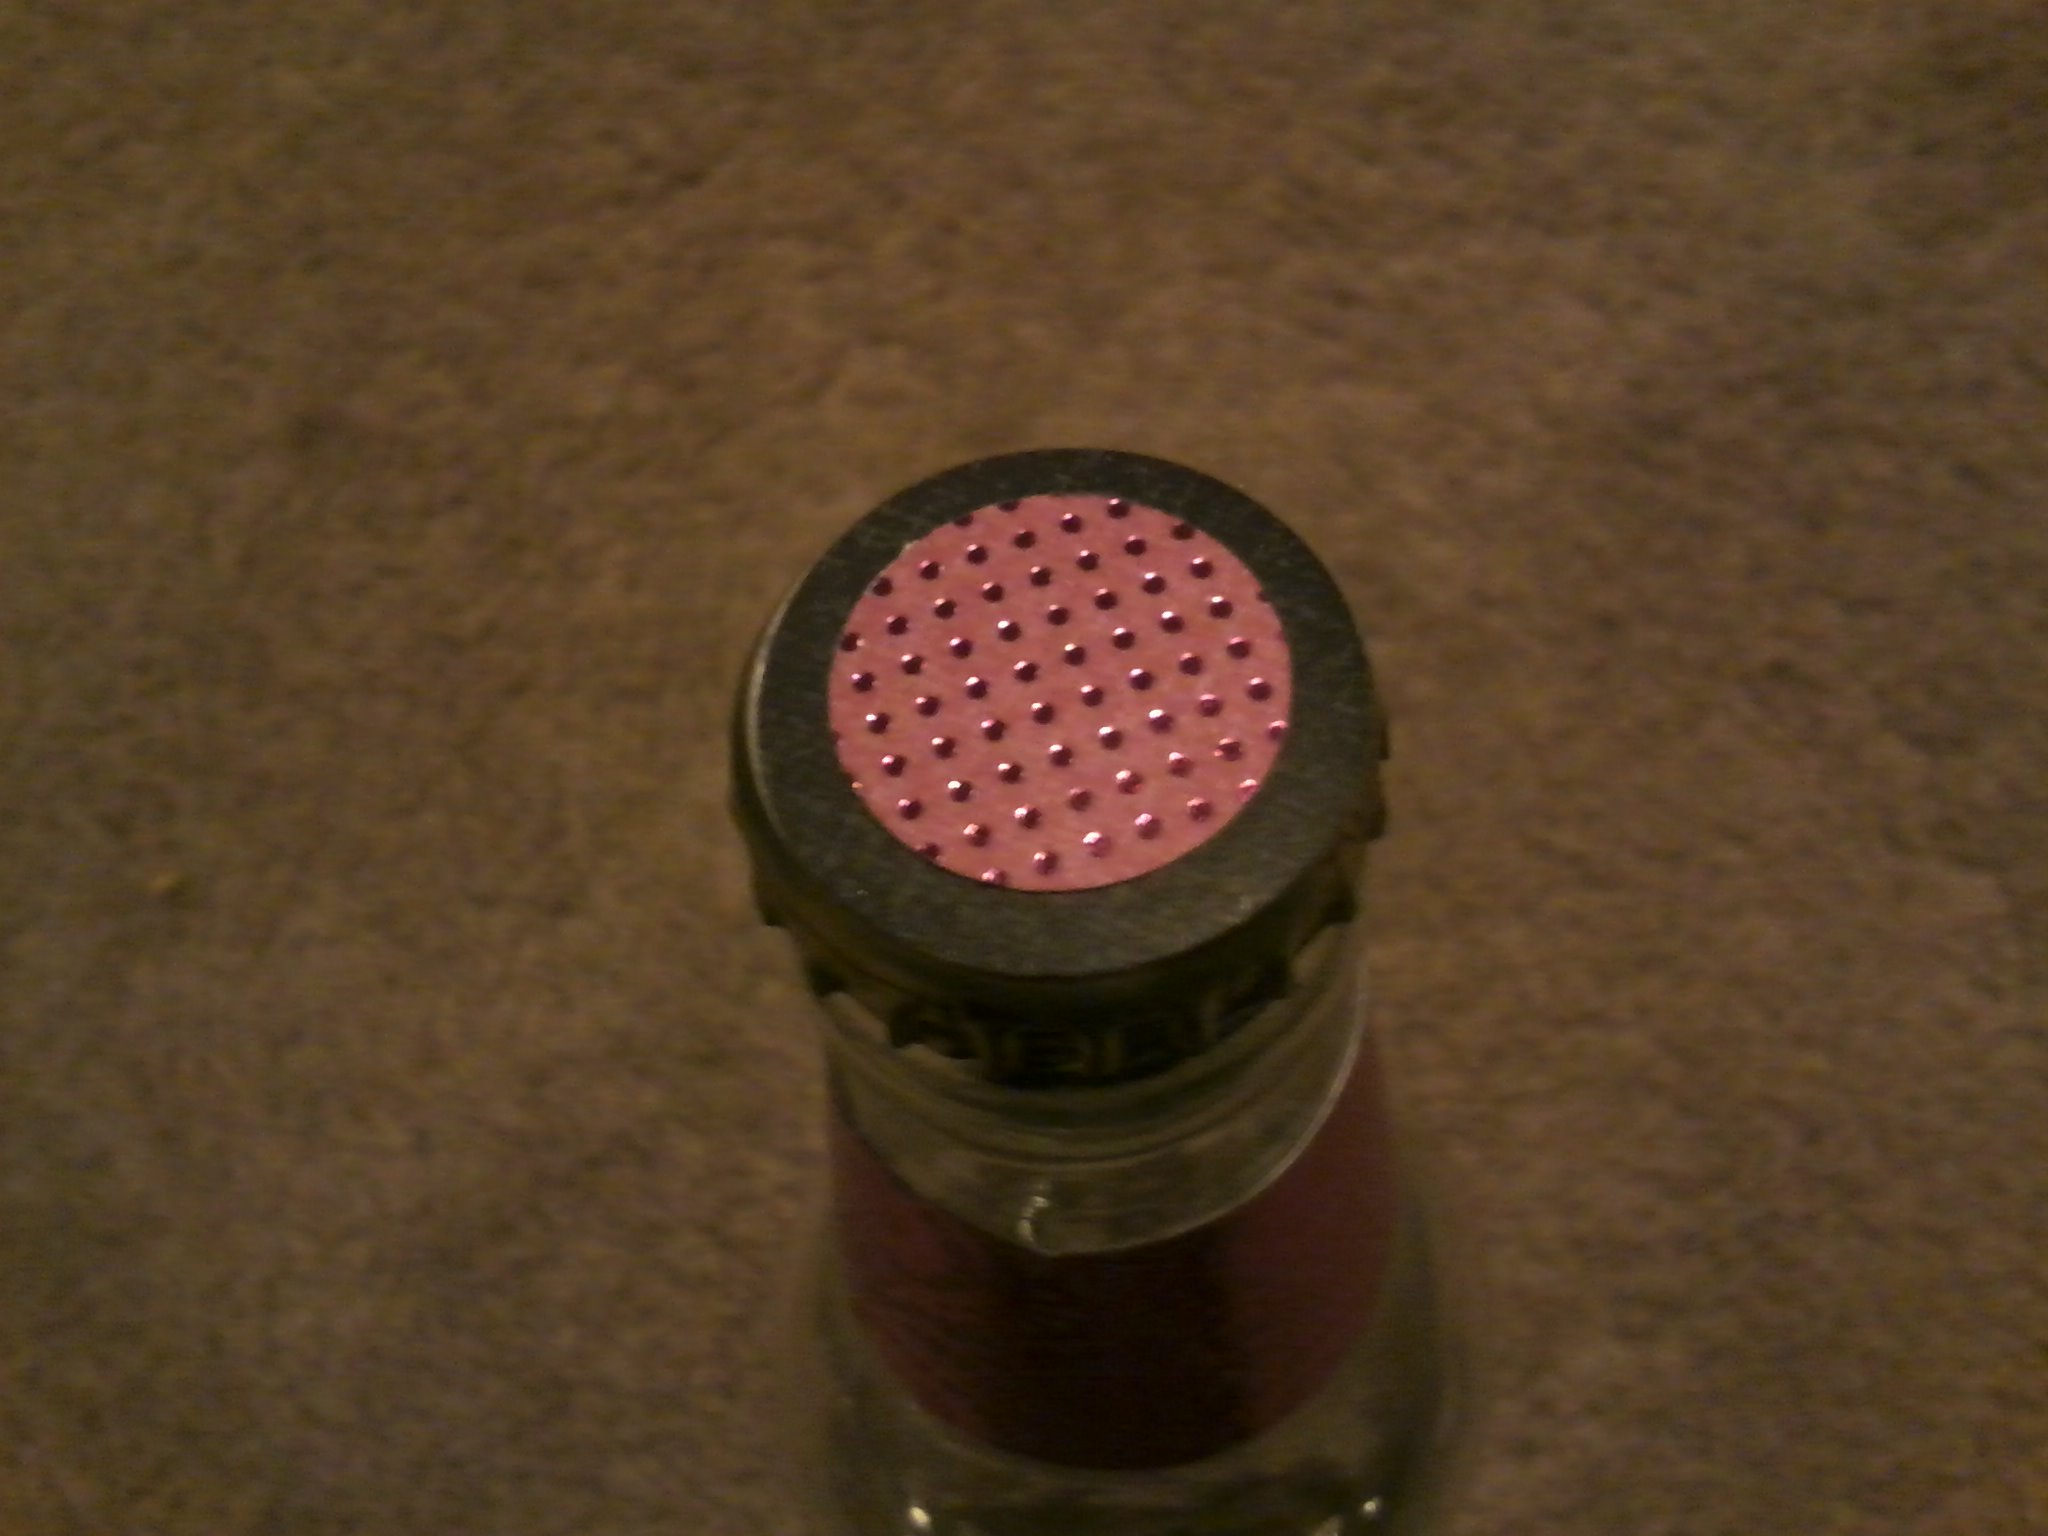
Since the bottle cap had the soda’s logo on it, I decided to cover that up too. I took a circle punch that was about the same size as the cap and punched out a piece of black paper. Then I took a smaller punch and cut another circle out of matching pink paper and adhered them to the top. If you don’t have a punch that’s the right size, you can always turn the cap over and trace it.
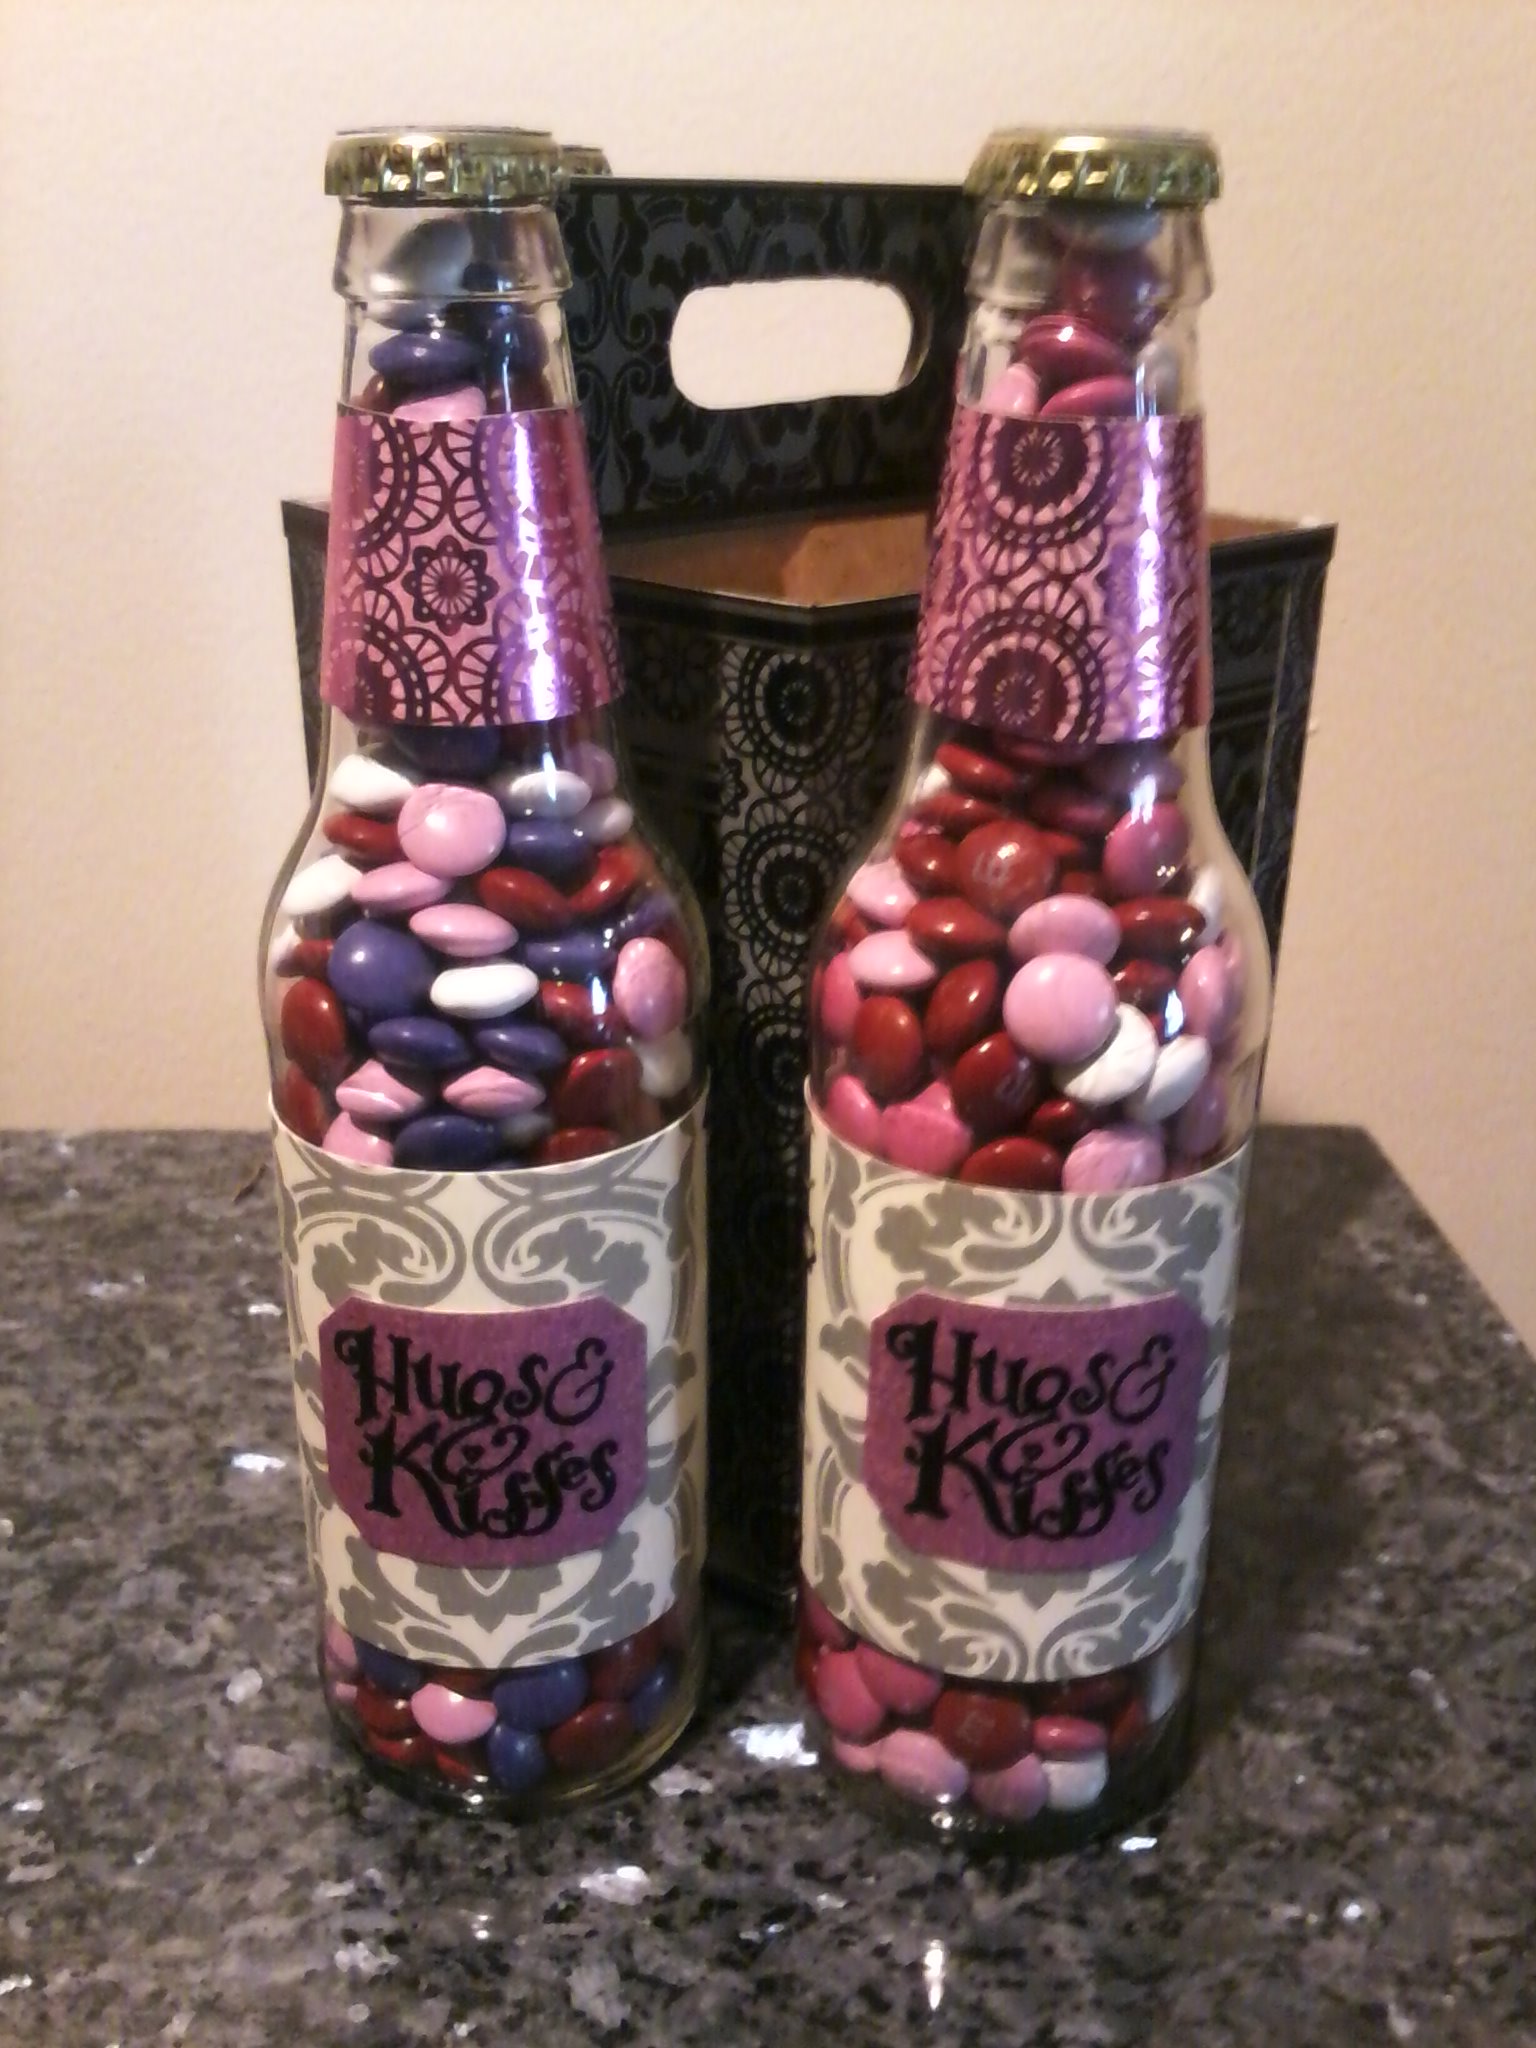
Here are a few views of the finished bottles:

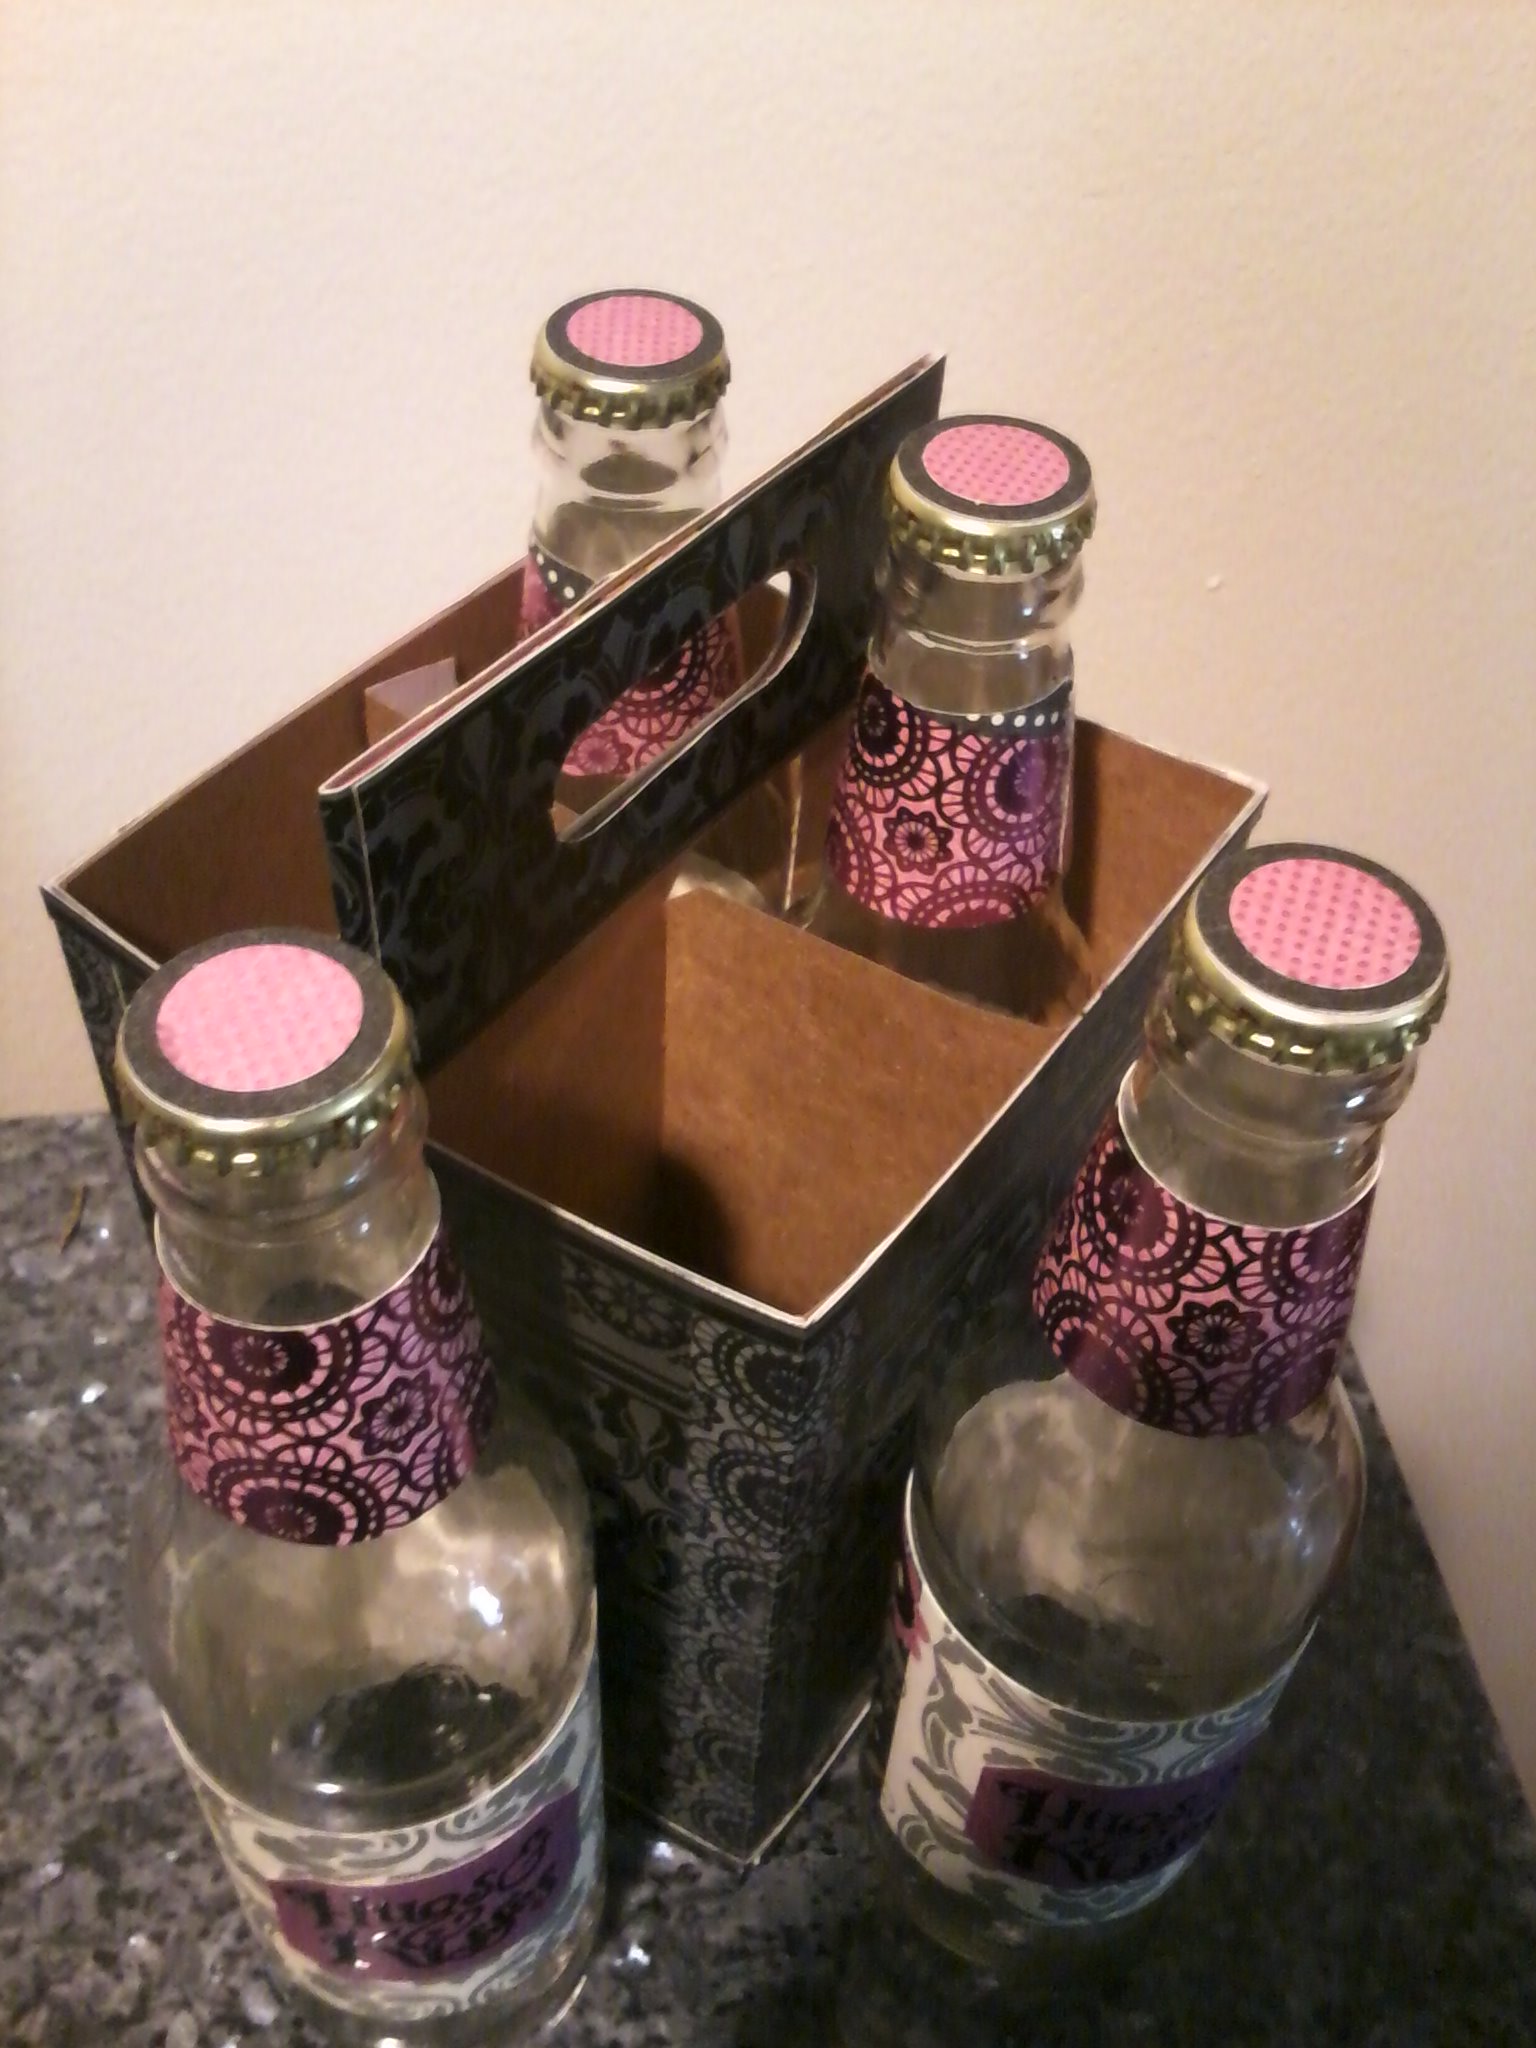
Now, I thought the bottles looked a little plain. So I took my die cut machine and a label die from Papertrey Ink and cut out four small labels, one for the front of each bottle. Then I stamped a saying on each one and adhered them to the fronts of the bottles.
Now comes the really fun (and delicious) part! Fill each bottle with your treat of choice. I was lucky enough to fill the bottles and have some M&Ms left over. Who am I to waste?
Now they are all ready to give to your sweetheart, your kids, or your best friend! While this one was created for Valentine’s Day, you could make it for any holiday or ‘just because’ – just change up the paper to match the occasion!
Have you ever made something like these? I would love to see your version!
* This post is linked to: Homemaker’s Challenge and Growing Home